5 Steps to Taking Better Underwater Photos

Shooting underwater has always been something that fascinated us. There is this whole world below the surface that most of us are never able to see. We especially love capturing the unique wildlife and beautiful coral reefs. And because traditional rules of gravity no longer apply, the logistics can get interesting. You are able to create incredible images of floating, dancing, and movement that just couldn’t exist anywhere but underwater.
Compared to shooting on land, capturing underwater shots can feel somewhat challenging with the added components of water, swimming, having to hold your breath, and the uncertainty of large bodies of water like oceans or lakes. These extra variables make it more difficult, but it sure feels great when your able to really nail the shot!
In this post we’ll be sharing with you the best practices we have learned over the years on how to capture beautiful underwater photos. Probably the most important aspect to this style of shooting is PATIENCE. Underwater photography usually takes at least 3x the time of our normal photo shoots because of all the additional factors (especially because a majority of the time we have to take our photos on time lapse because we don’t have a photographer). Also depending on how comfortable you feel underwater, it may take some getting used to holding your breath and figuring out how to go deeper for better photos. After many many underwater shoots, we are at a point where we want to share basic tips with you to help speed up that learning curve. We will walk you through 5 simple steps to taking better underwater photos. We will cover our gear, process, and some ideas for you to try on your next underwater adventure!
1.EQUIPMENT
You can use a couple different apparatuses in order to capture this moment under the sea. Different situations will require different gear, from custom underwater housing to waterproof action cameras. Here we will focus mainly on what we’ve used to capture our photos.
CAMERA
Our camera of choice for underwater shooting right now is the GoPro Hero7 and Hero8. It is waterproof up to 10m and seems to cover most of our needs. It’s small and lightweight, so its very easy to pack, and can also attach to other things such as a boat or railing with a flexible tripod.
There are underwater housings for larger cameras which will help to get a more crisp shot, the only downside being you need an extra person to do the shooting which we typically don’t have. Depending on your camera, you may have find a custom housing, which can get expensive. If you go this route be prepared to make room in your bag.
Underwater smartphone cases are also an option. They are much less expensive, but you will still only be able to capture 1 person in the shot. So if you are trying to capture both of you in a photo you will have to have someone else take the picture.
TRIPOD
The key to all our underwater shots is our tripod. We use this mini flexible tripod called a Fotopro. It is waterproof with adjustable rubber legs and is perfect for latching onto rocks, ladders, and poles. This is an essential item to capturing underwater couples photos shot on your own, because it allows you set the camera to time lapse and then swim out in front of it without needing an additional person.
DOME
In order to capture half and half photos, we use this dome. Essentially, domes help to decrease the distortion that comes from looking underwater. If you have ever tried looking at yourself underwater when you are above the surface, you may notice that things can look elongated and that the body below the surface doesn’t align with the body above the surface. The water diffracts the light in a way that distorts the subject. The dome helps to reduce and correct that aberration. It also helps the camera to float on it’s own which can be great for if you are worried about taking a camera into the ocean and losing it.
HANDLE
If you don’t want to use a dome or tripod, then you will definitely want a floating handle for the GoPro. It’s so nice to have that extra level of confidence that you won’t lose your GoPro to the depths of the sea. We have also used this to stick in the sand and it works perfectly. It allows us to even throw the GoPro back and forth in the water in case one of us happens to find something like a family of sea turtles that we don’t want to miss!
2. CAMERA SETTINGS
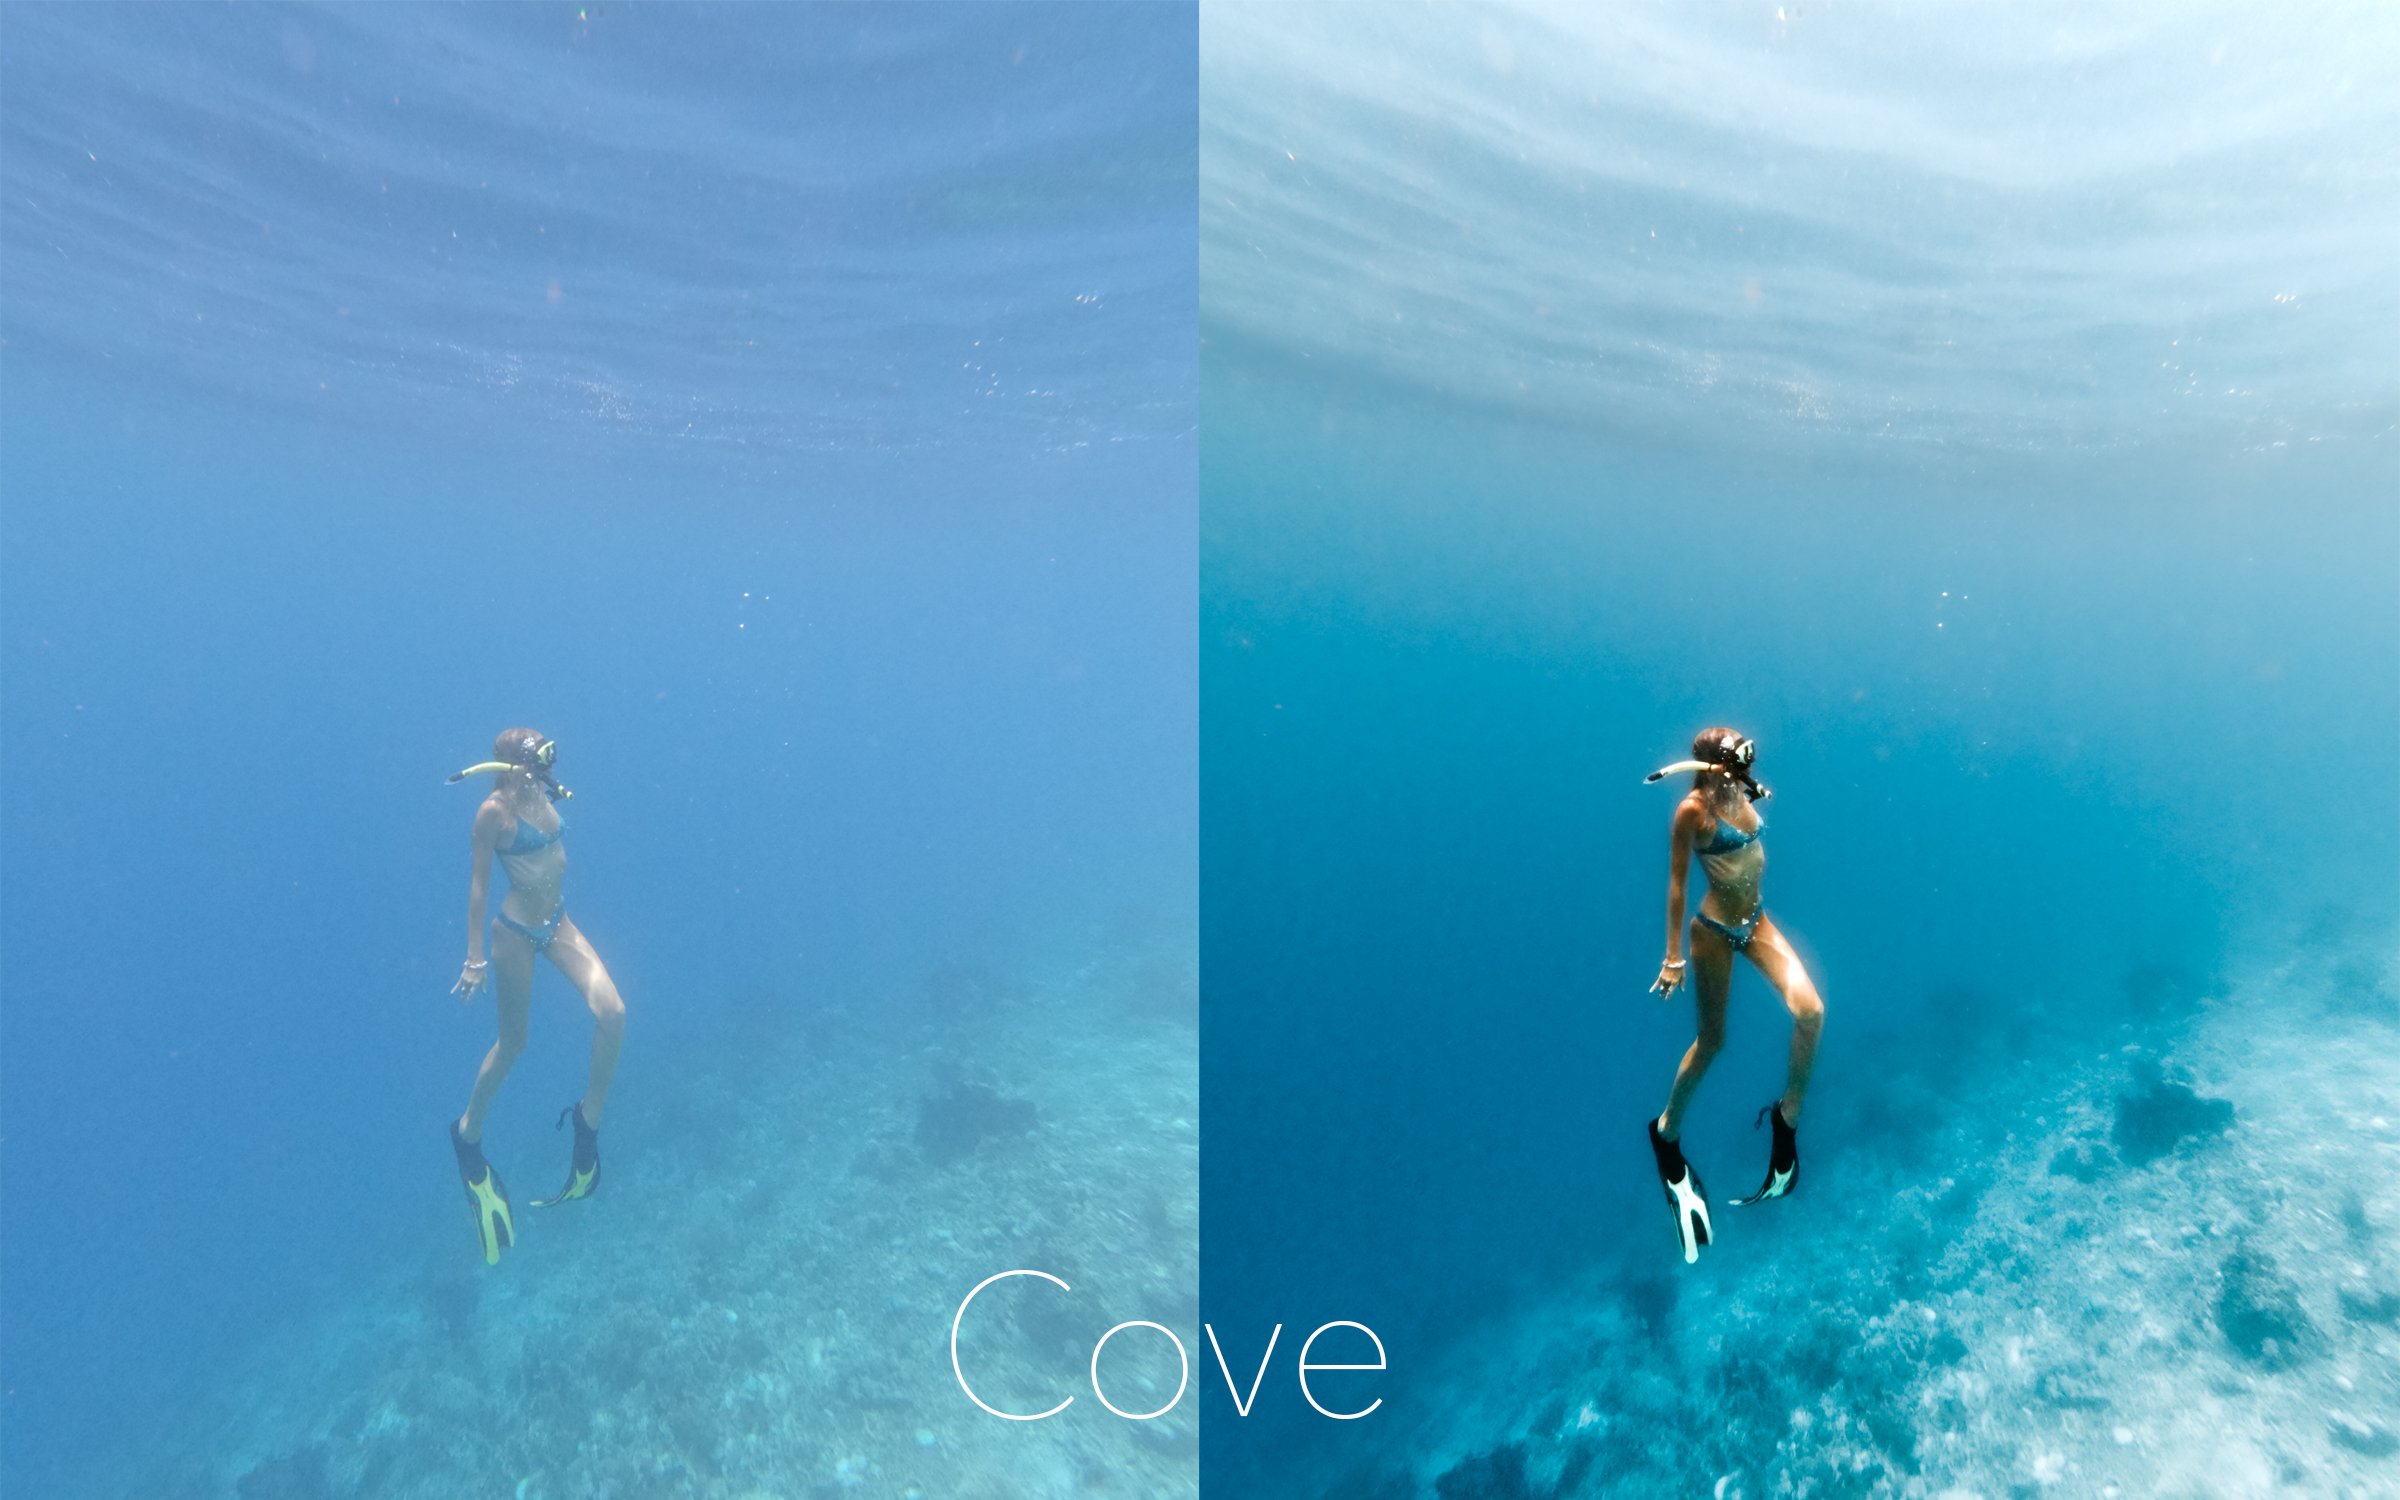
Now we will walk you through the general process we use for photographing underwater and then break it down into specific photo situations to give you an idea of how we captured each. The nice thing about GoPro is that we can set up a time lapse shoot (where it takes photos continuously for as long as we want). This is crucial because it allows you to get photos without having to click it yourself. It also allows you to apply your camera settings before you even jump in the water so that you don’t have to fumble with anything as you are also trying to tread water. We will usually set it at the fastest interval setting while still being able to capture RAW photos. For the Hero7 this is every 1 second. We prefer to shoot in RAW format because this gives us the highest quality of photo, and the most detail to work with in the editing process later. Our settings are:
TIME LAPSE PHOTO SETTINGS
Interval: 1s
FOV: Linear
Protune: On
EV Comp: 0
White Balance: Auto
ISO Min: 100
ISO Max: 800
Sharpness: Low
Color: Flat
3. PREPARING THE PHOTO
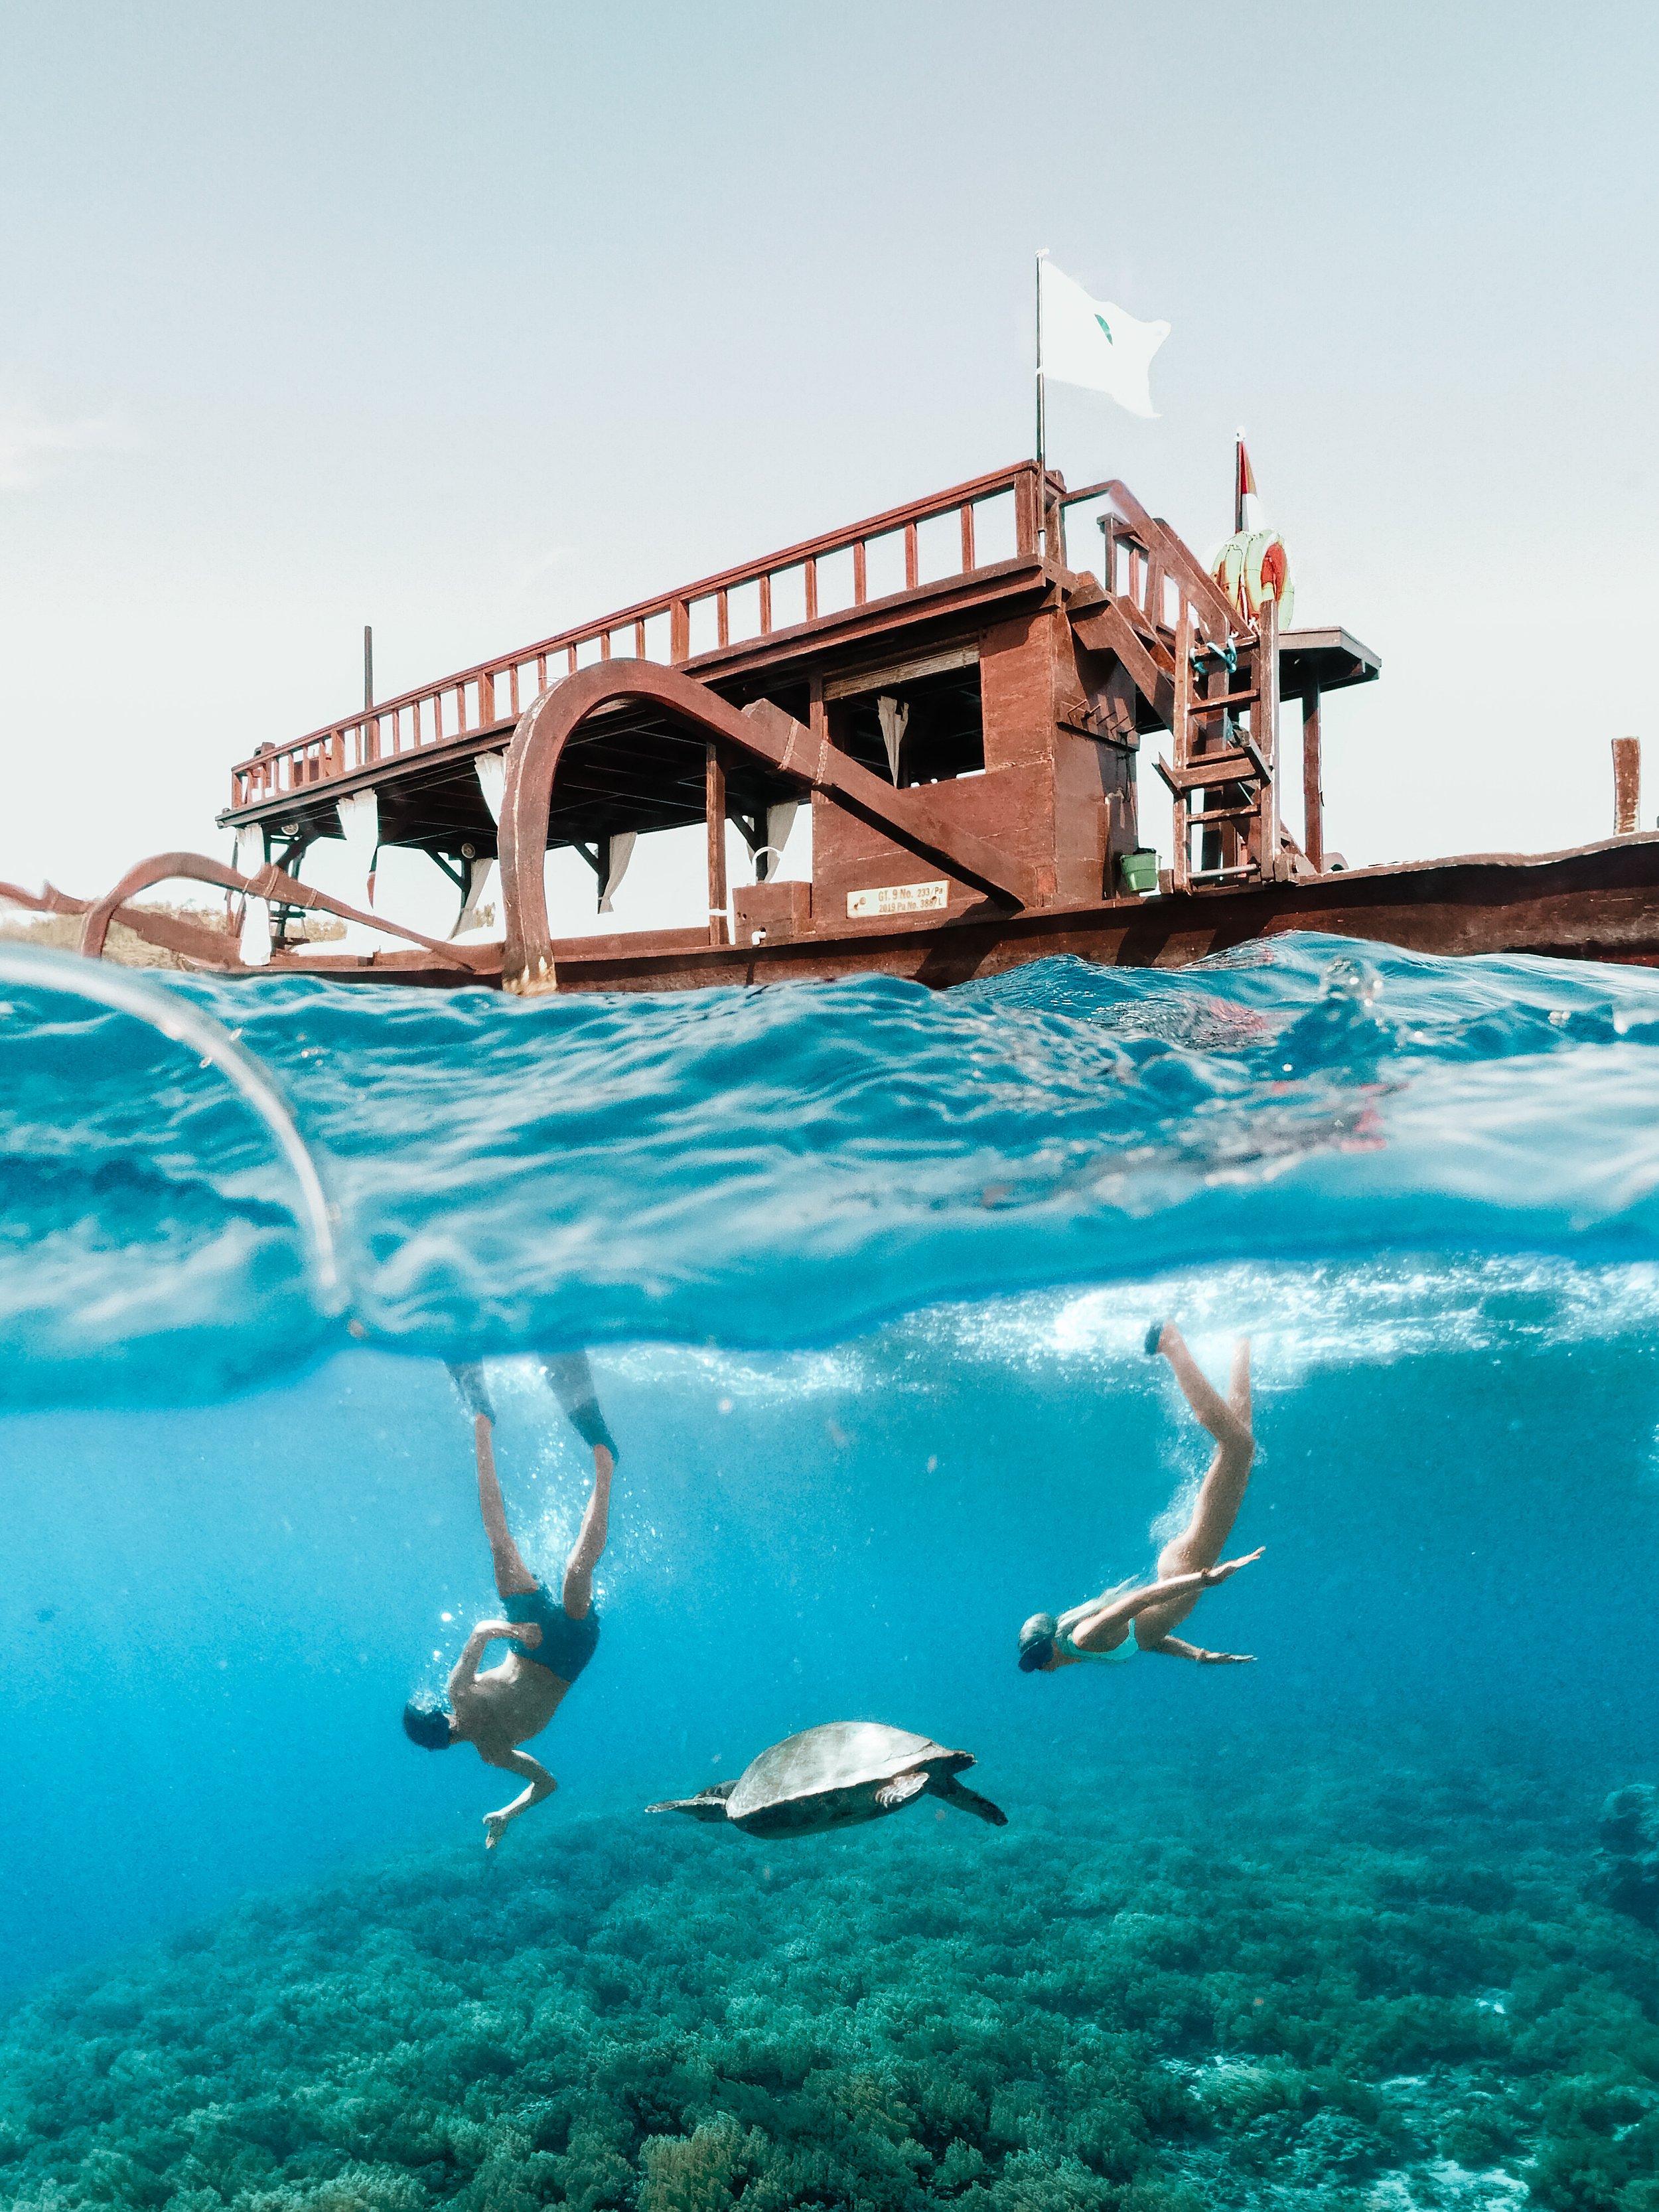
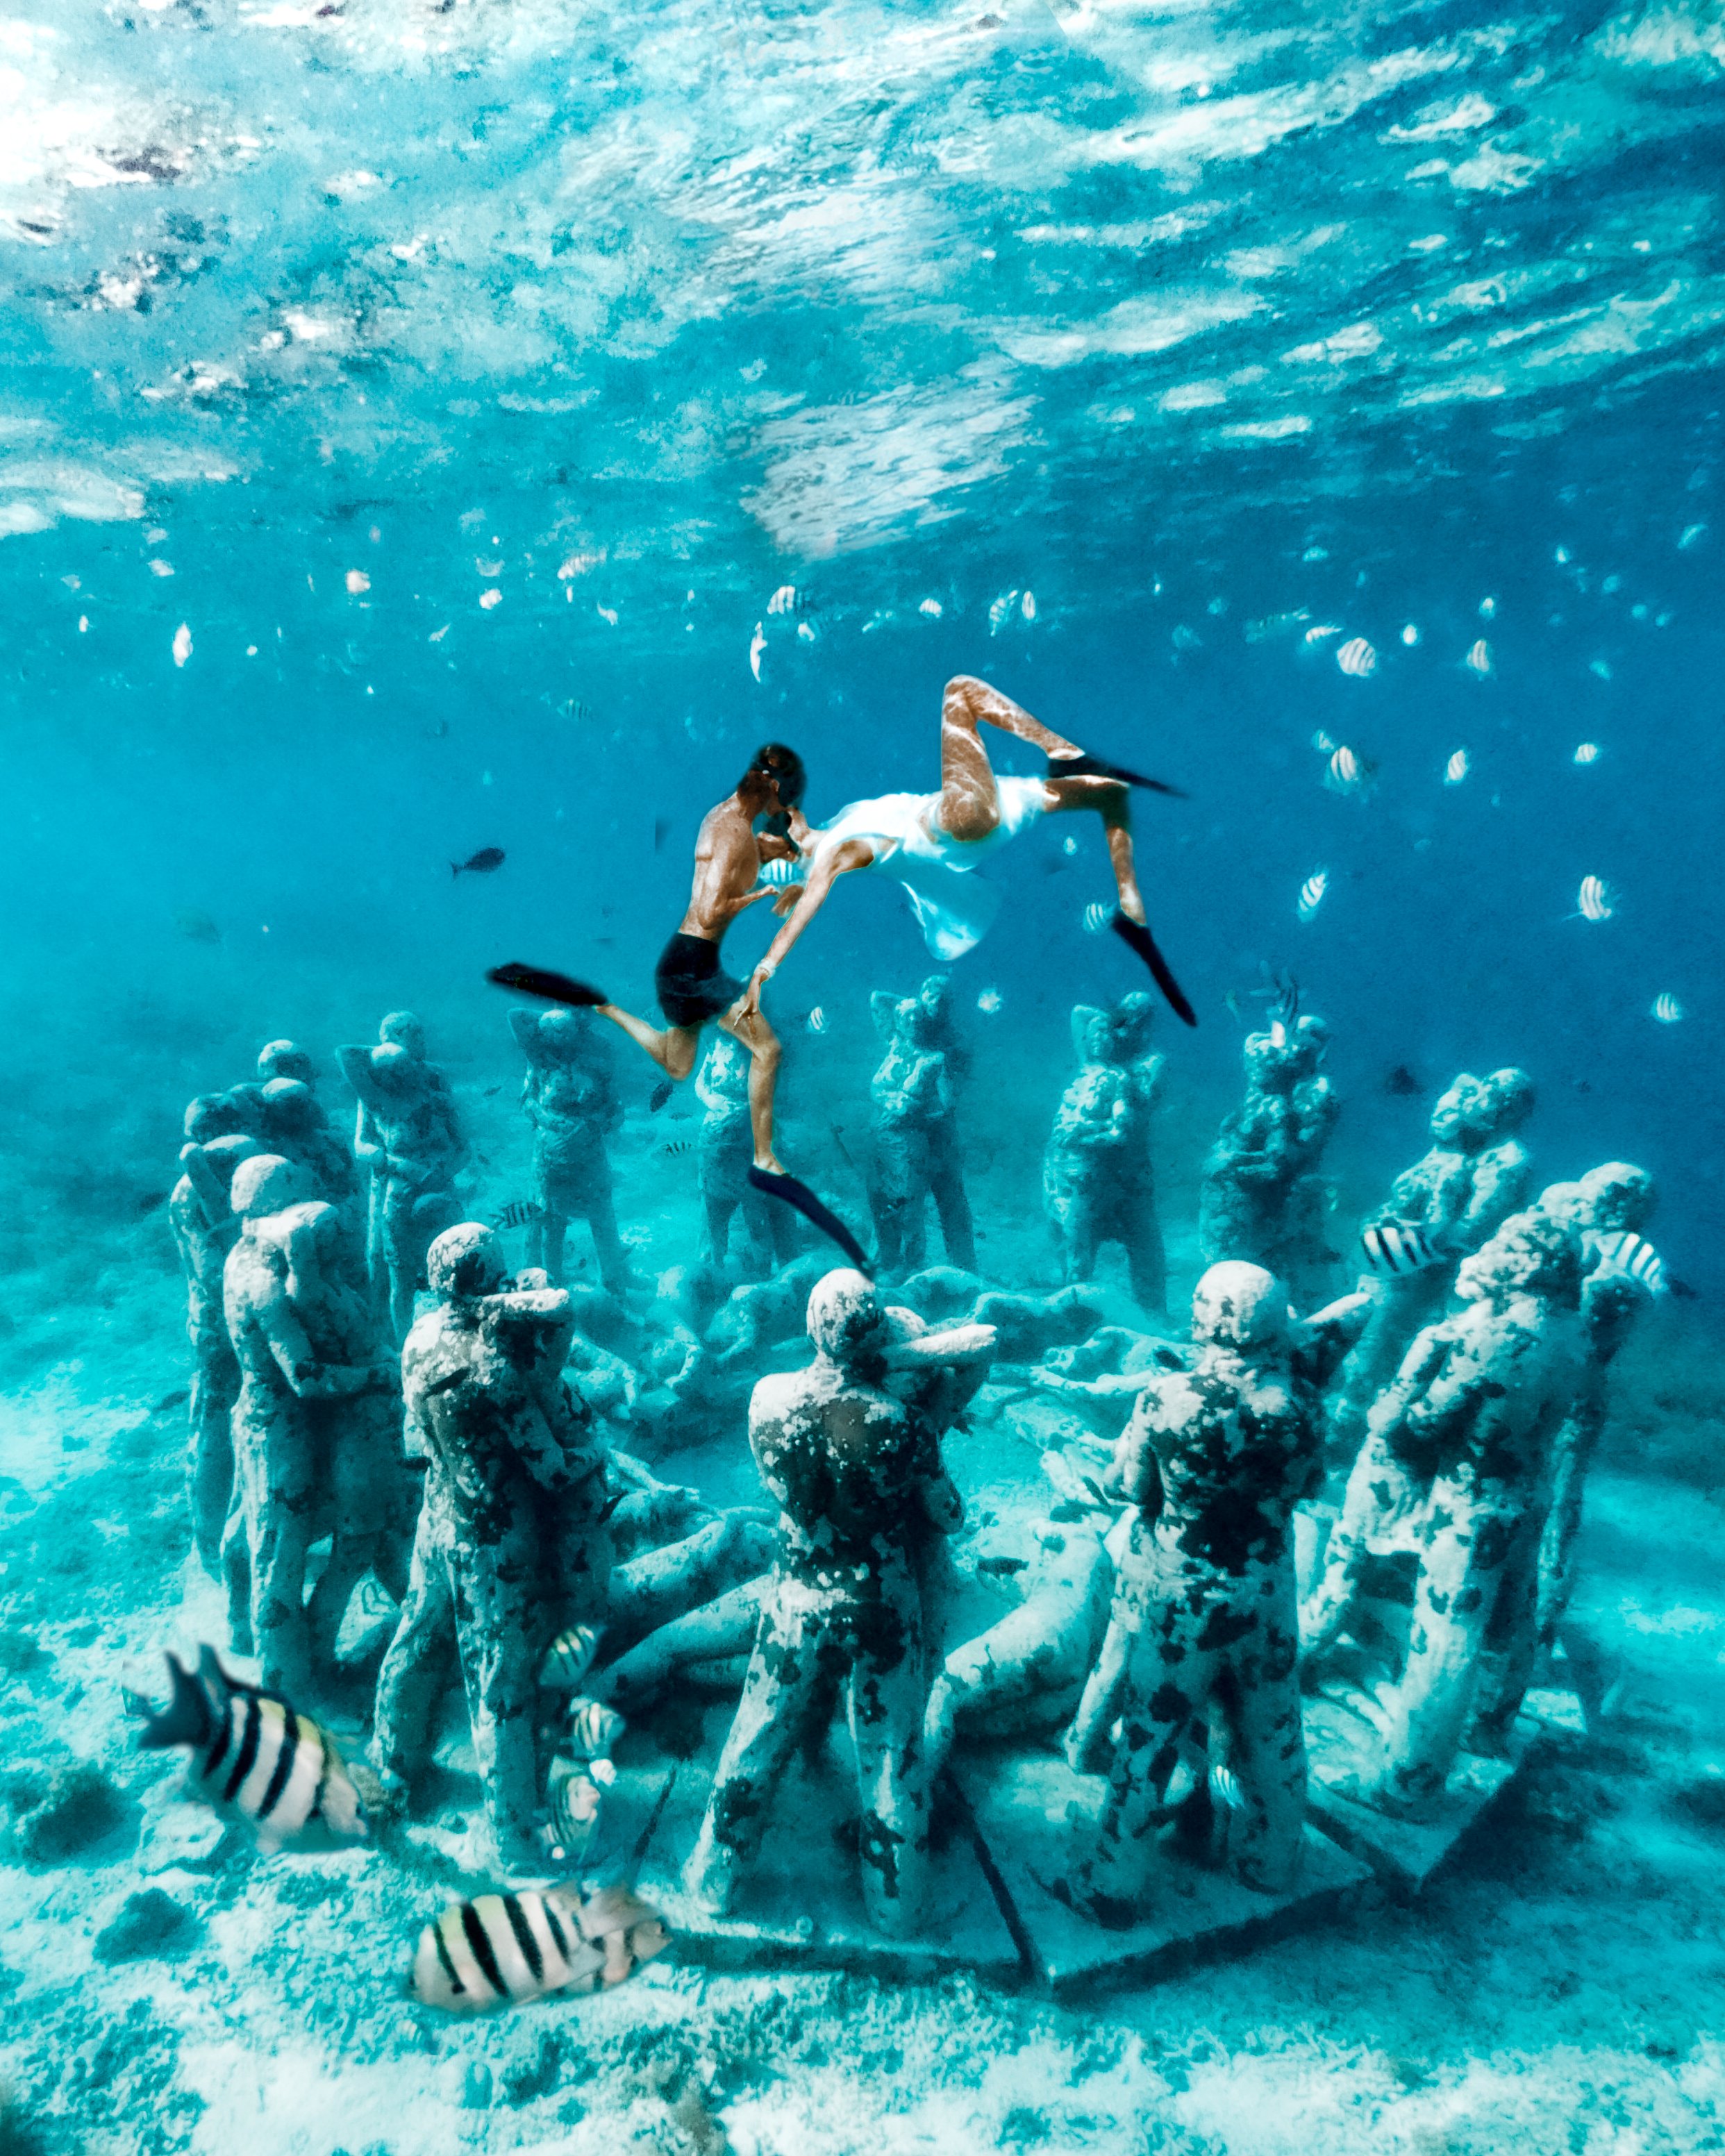
First thing we will do for any underwater photo session is find a spot we want to capture - maybe it’s an interesting cave, a cool area of fish, underwater statues, or a half and half shot with beautiful landscape or boat. Next we find somewhere we can attach the tripod to. Depending on if we want the shot to be completely underwater or half and half we will adjust camera placement accordingly. If we want a half and half shot, this will likely involve a pole sticking out of the water, a boat or pool ladder, or end of a dock. If we want the shot to be completely underwater then we will likely attach the GoPro to a heavy rock that will sink and hold the GoPro in the current, a ladder but pushing it completely under the surface, or even just pushing it into the sand (but be mindful of currents, we don’t recommend this option except in very calm water). Once we have the spot identified we frame up the shot and start the time lapse.
Note: Be sure to avoid putting it on coral! It can be very damaging to coral reefs to touch them, let alone place something as heavy as a camera on them.
A couple tips for the set up -
Know where the camera is at all times - You don’t want to lose the camera! Especially in large crowds or heavy currents (our previous GoPro was stolen while shooting underwater…)
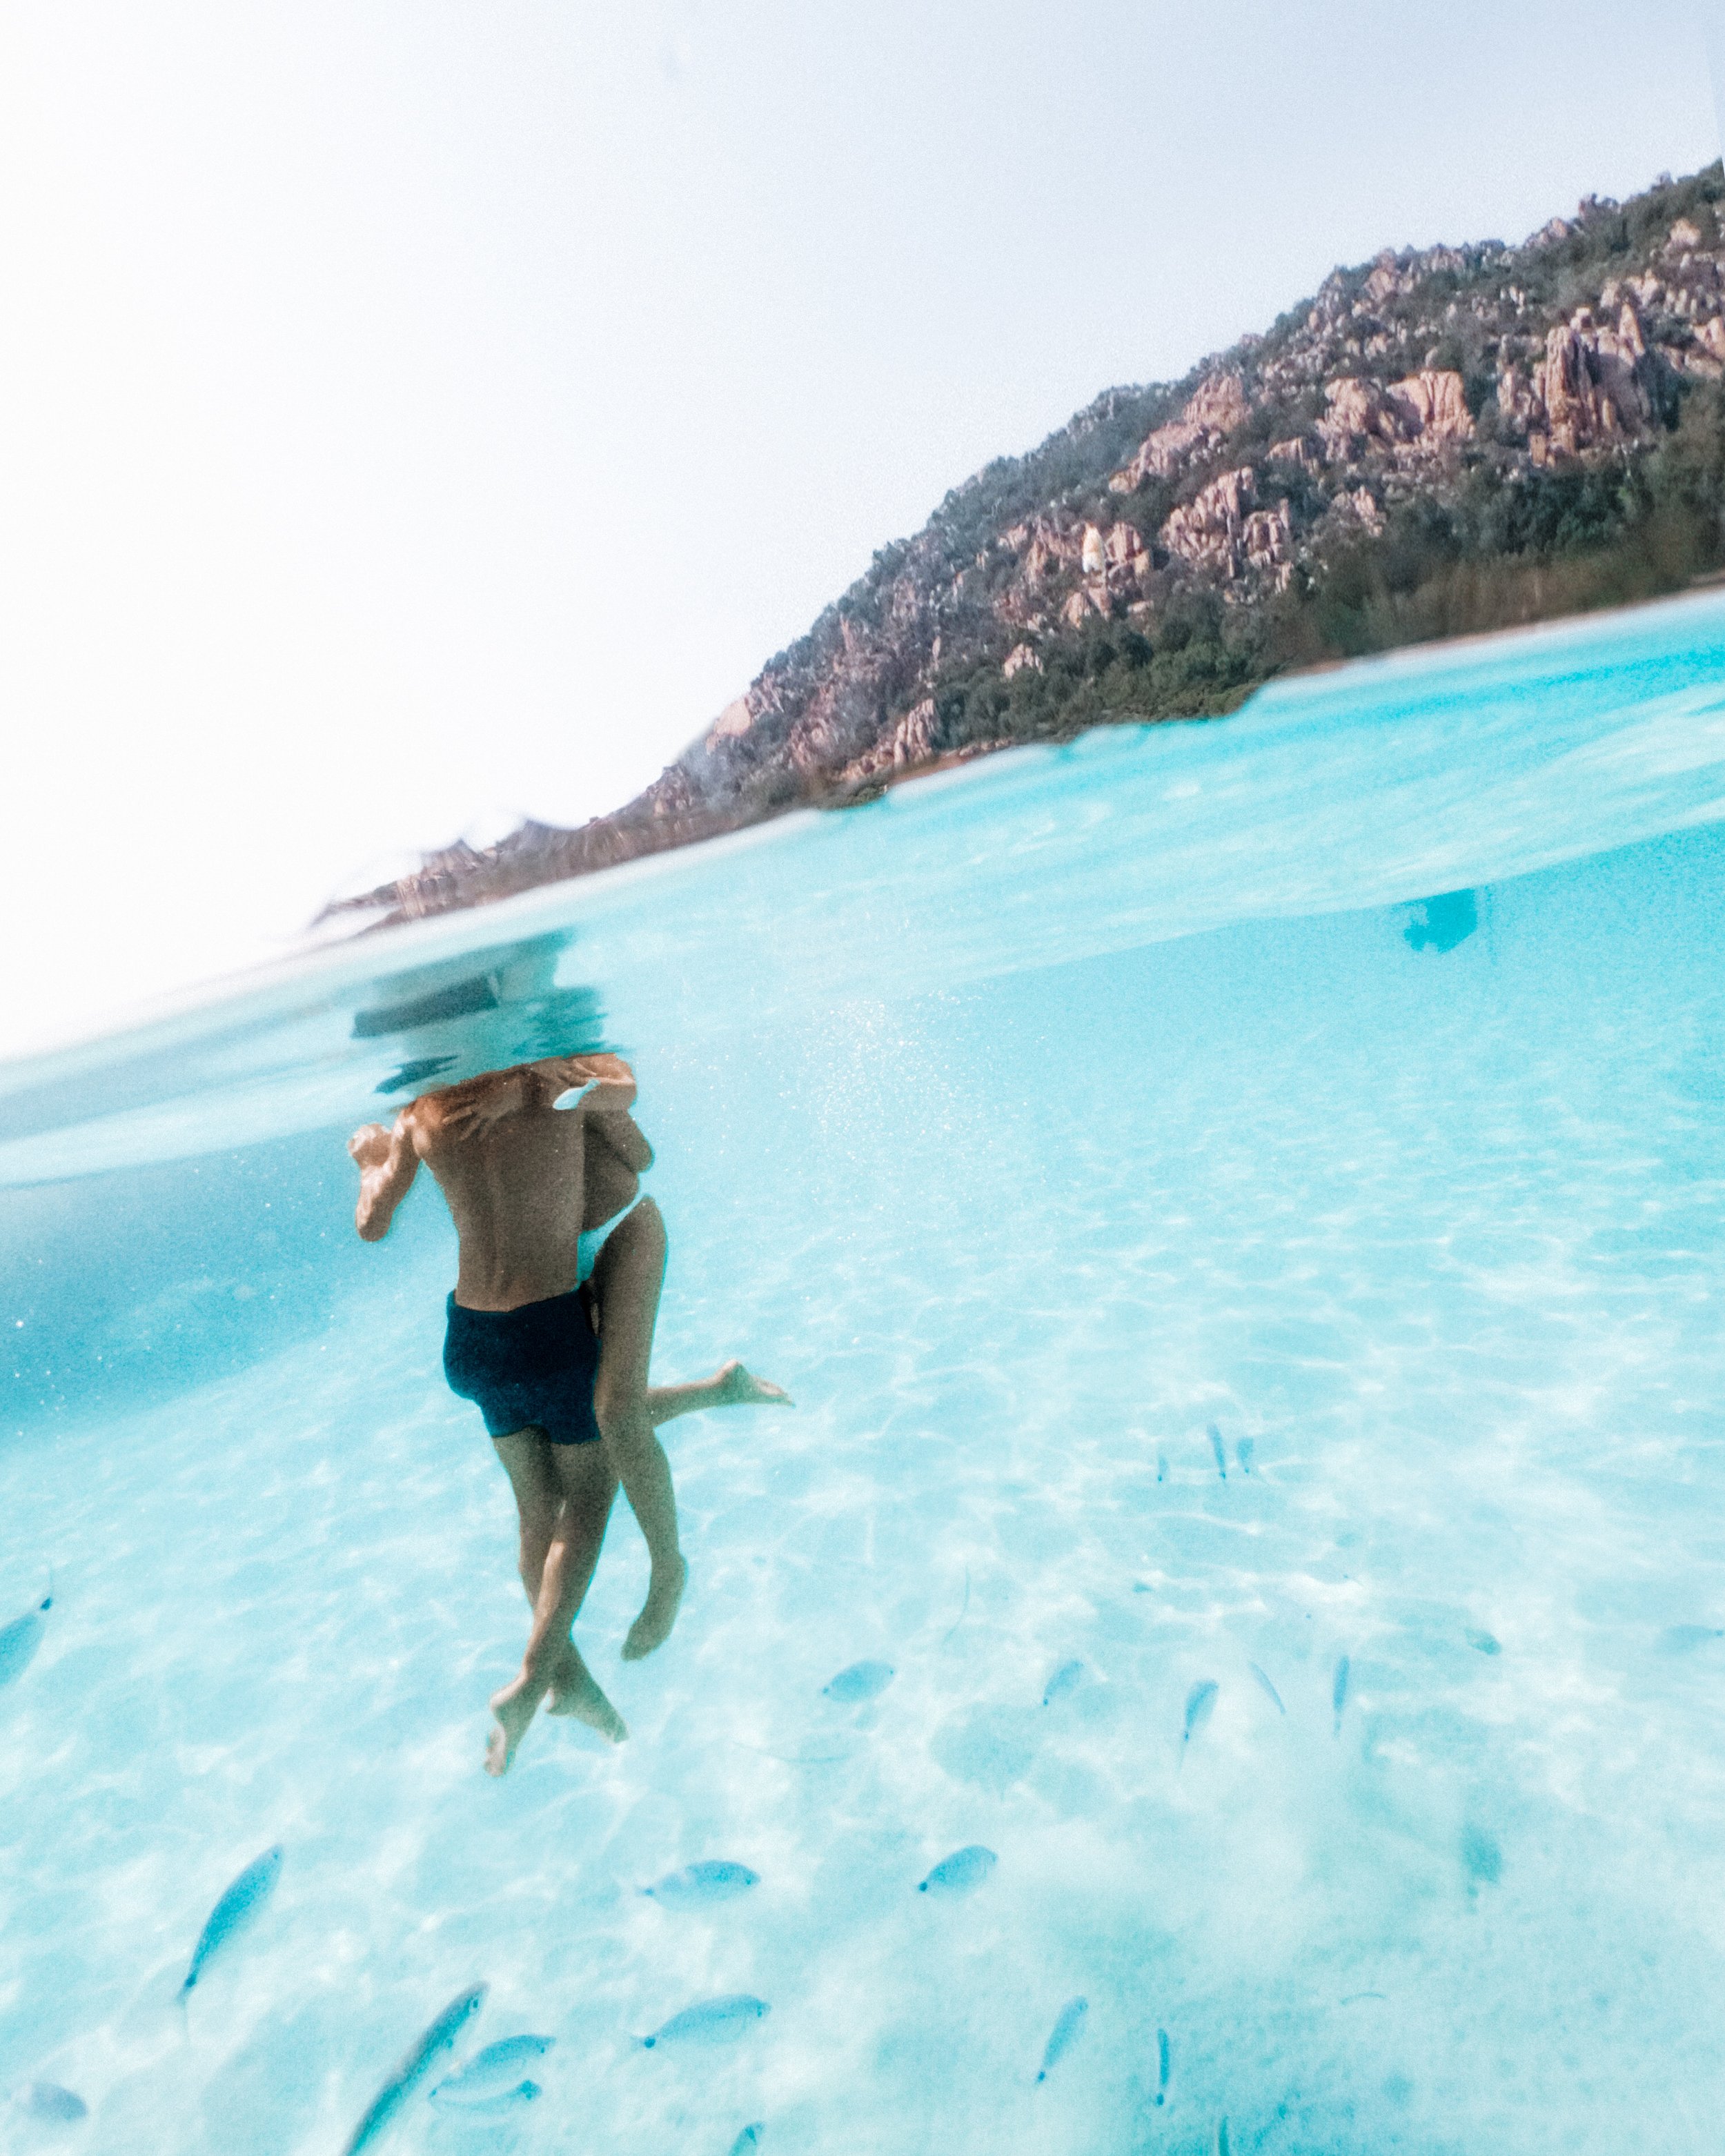
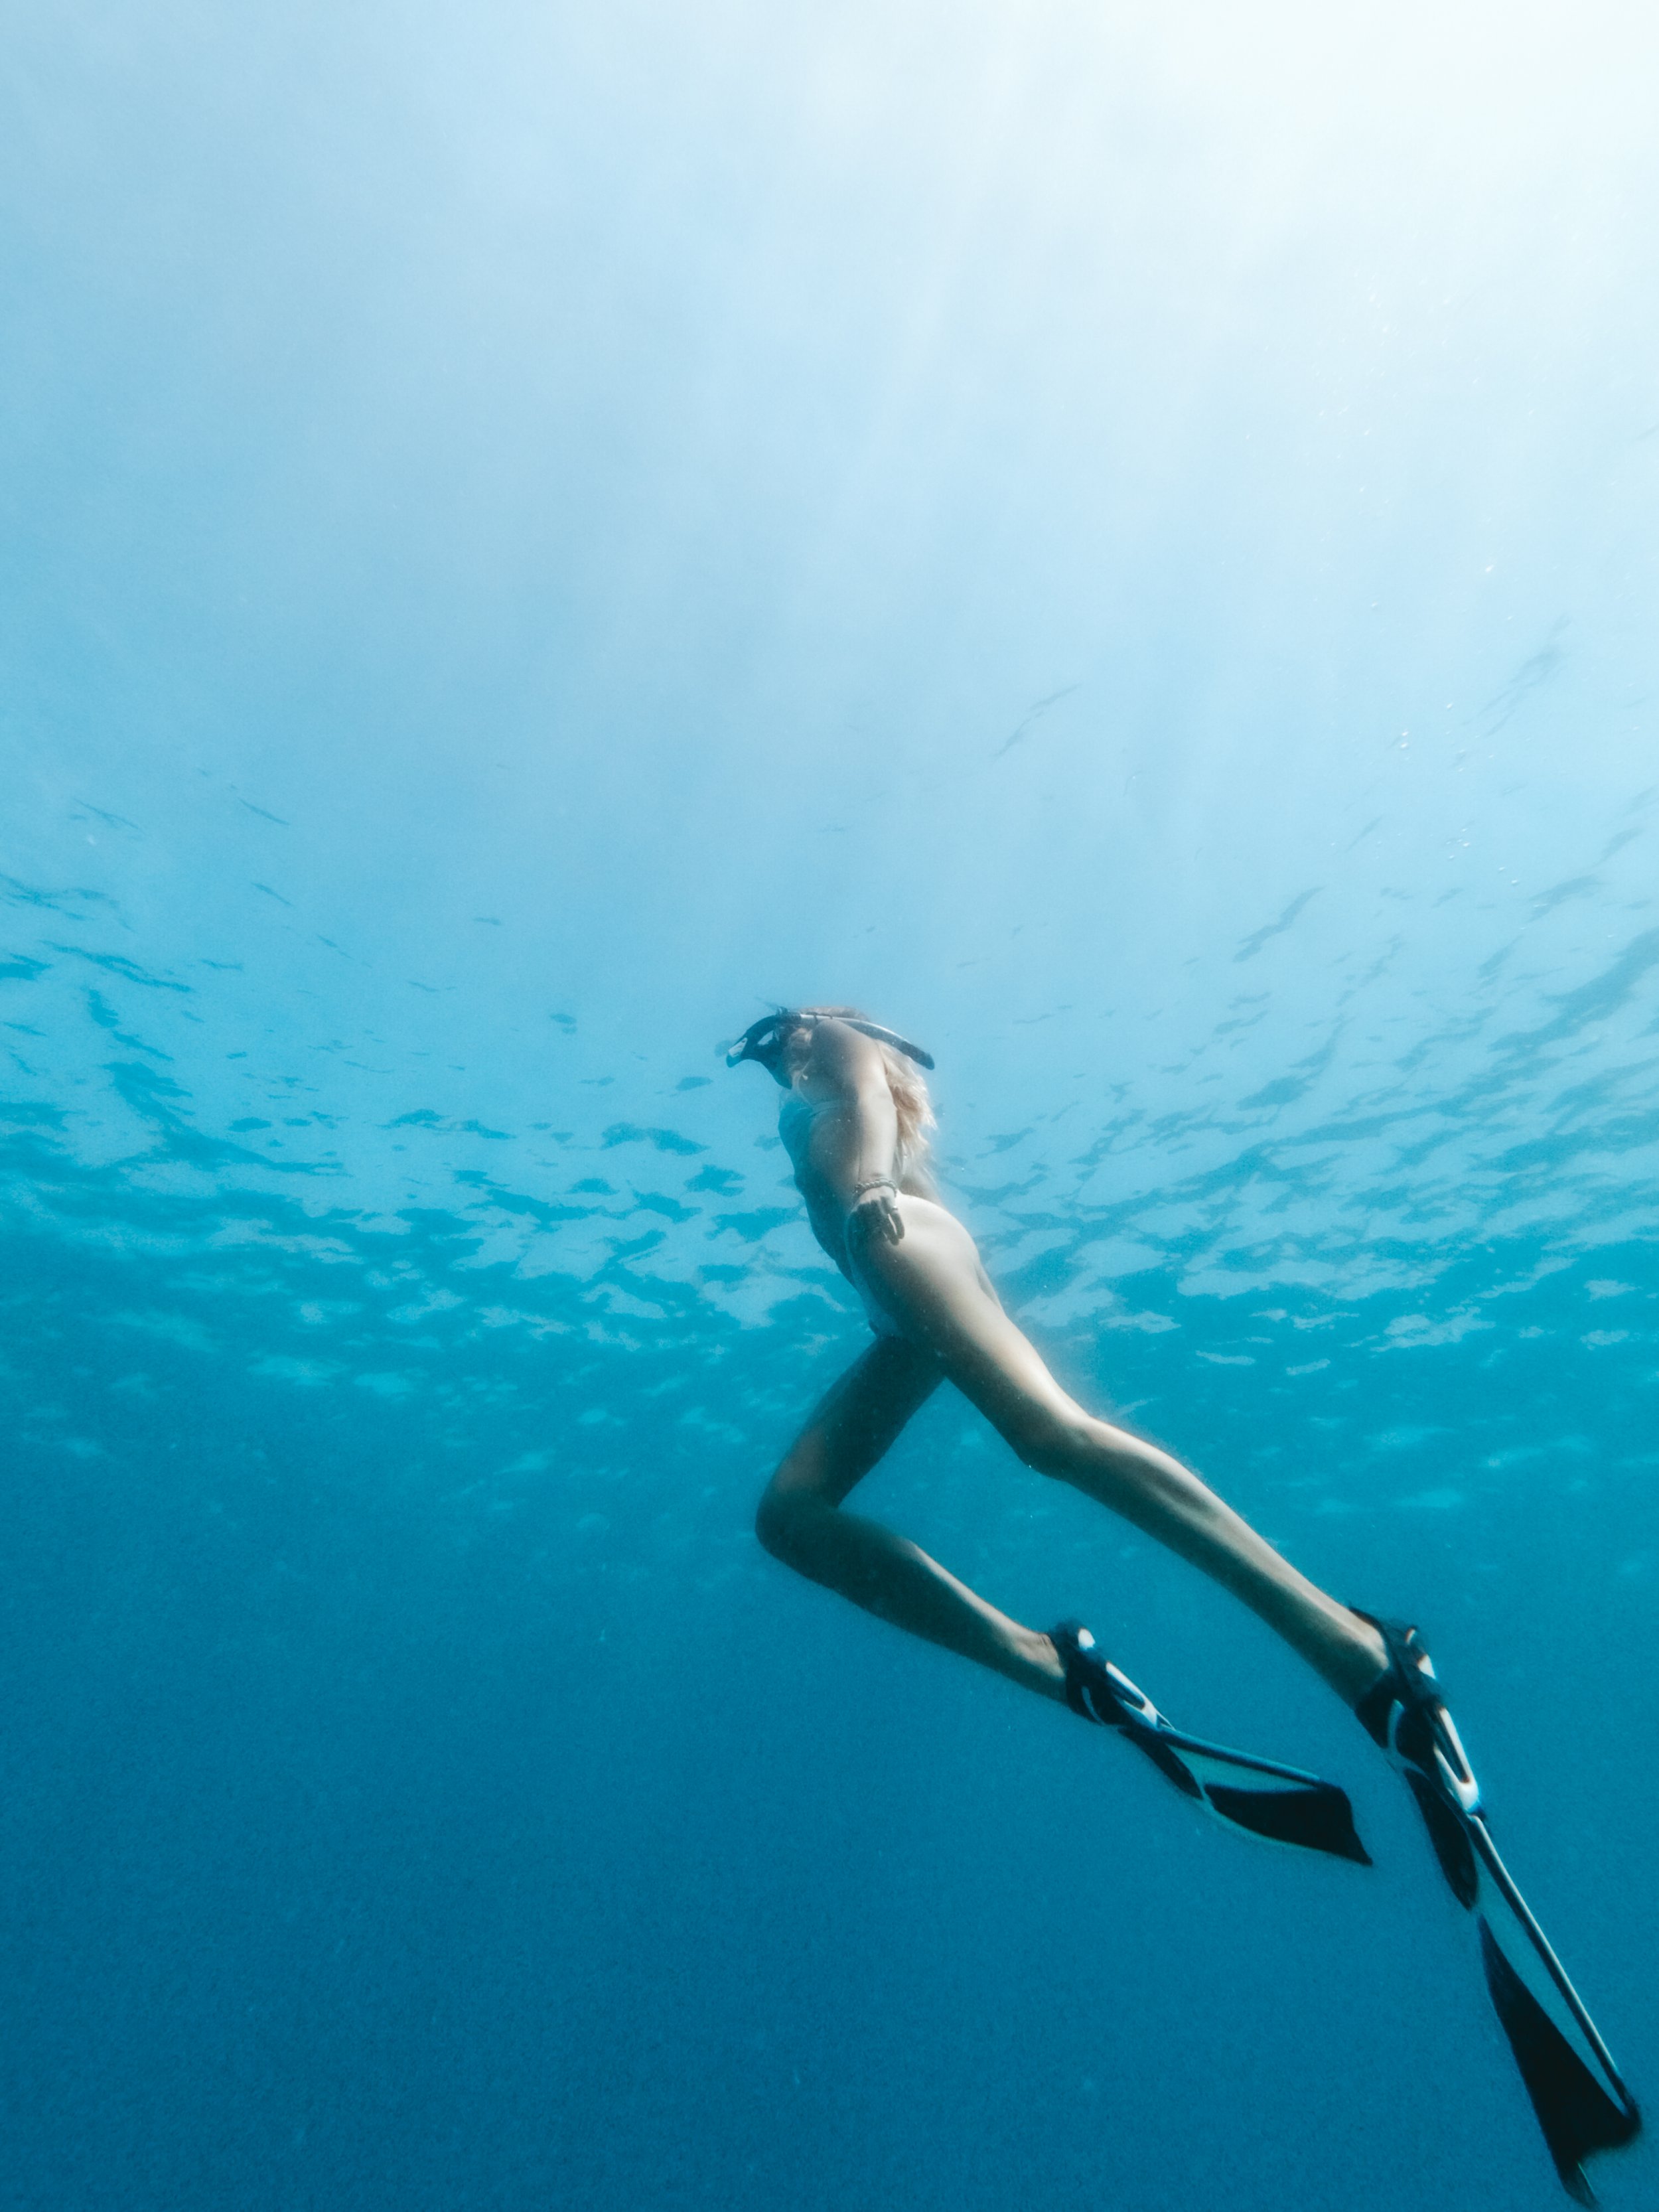
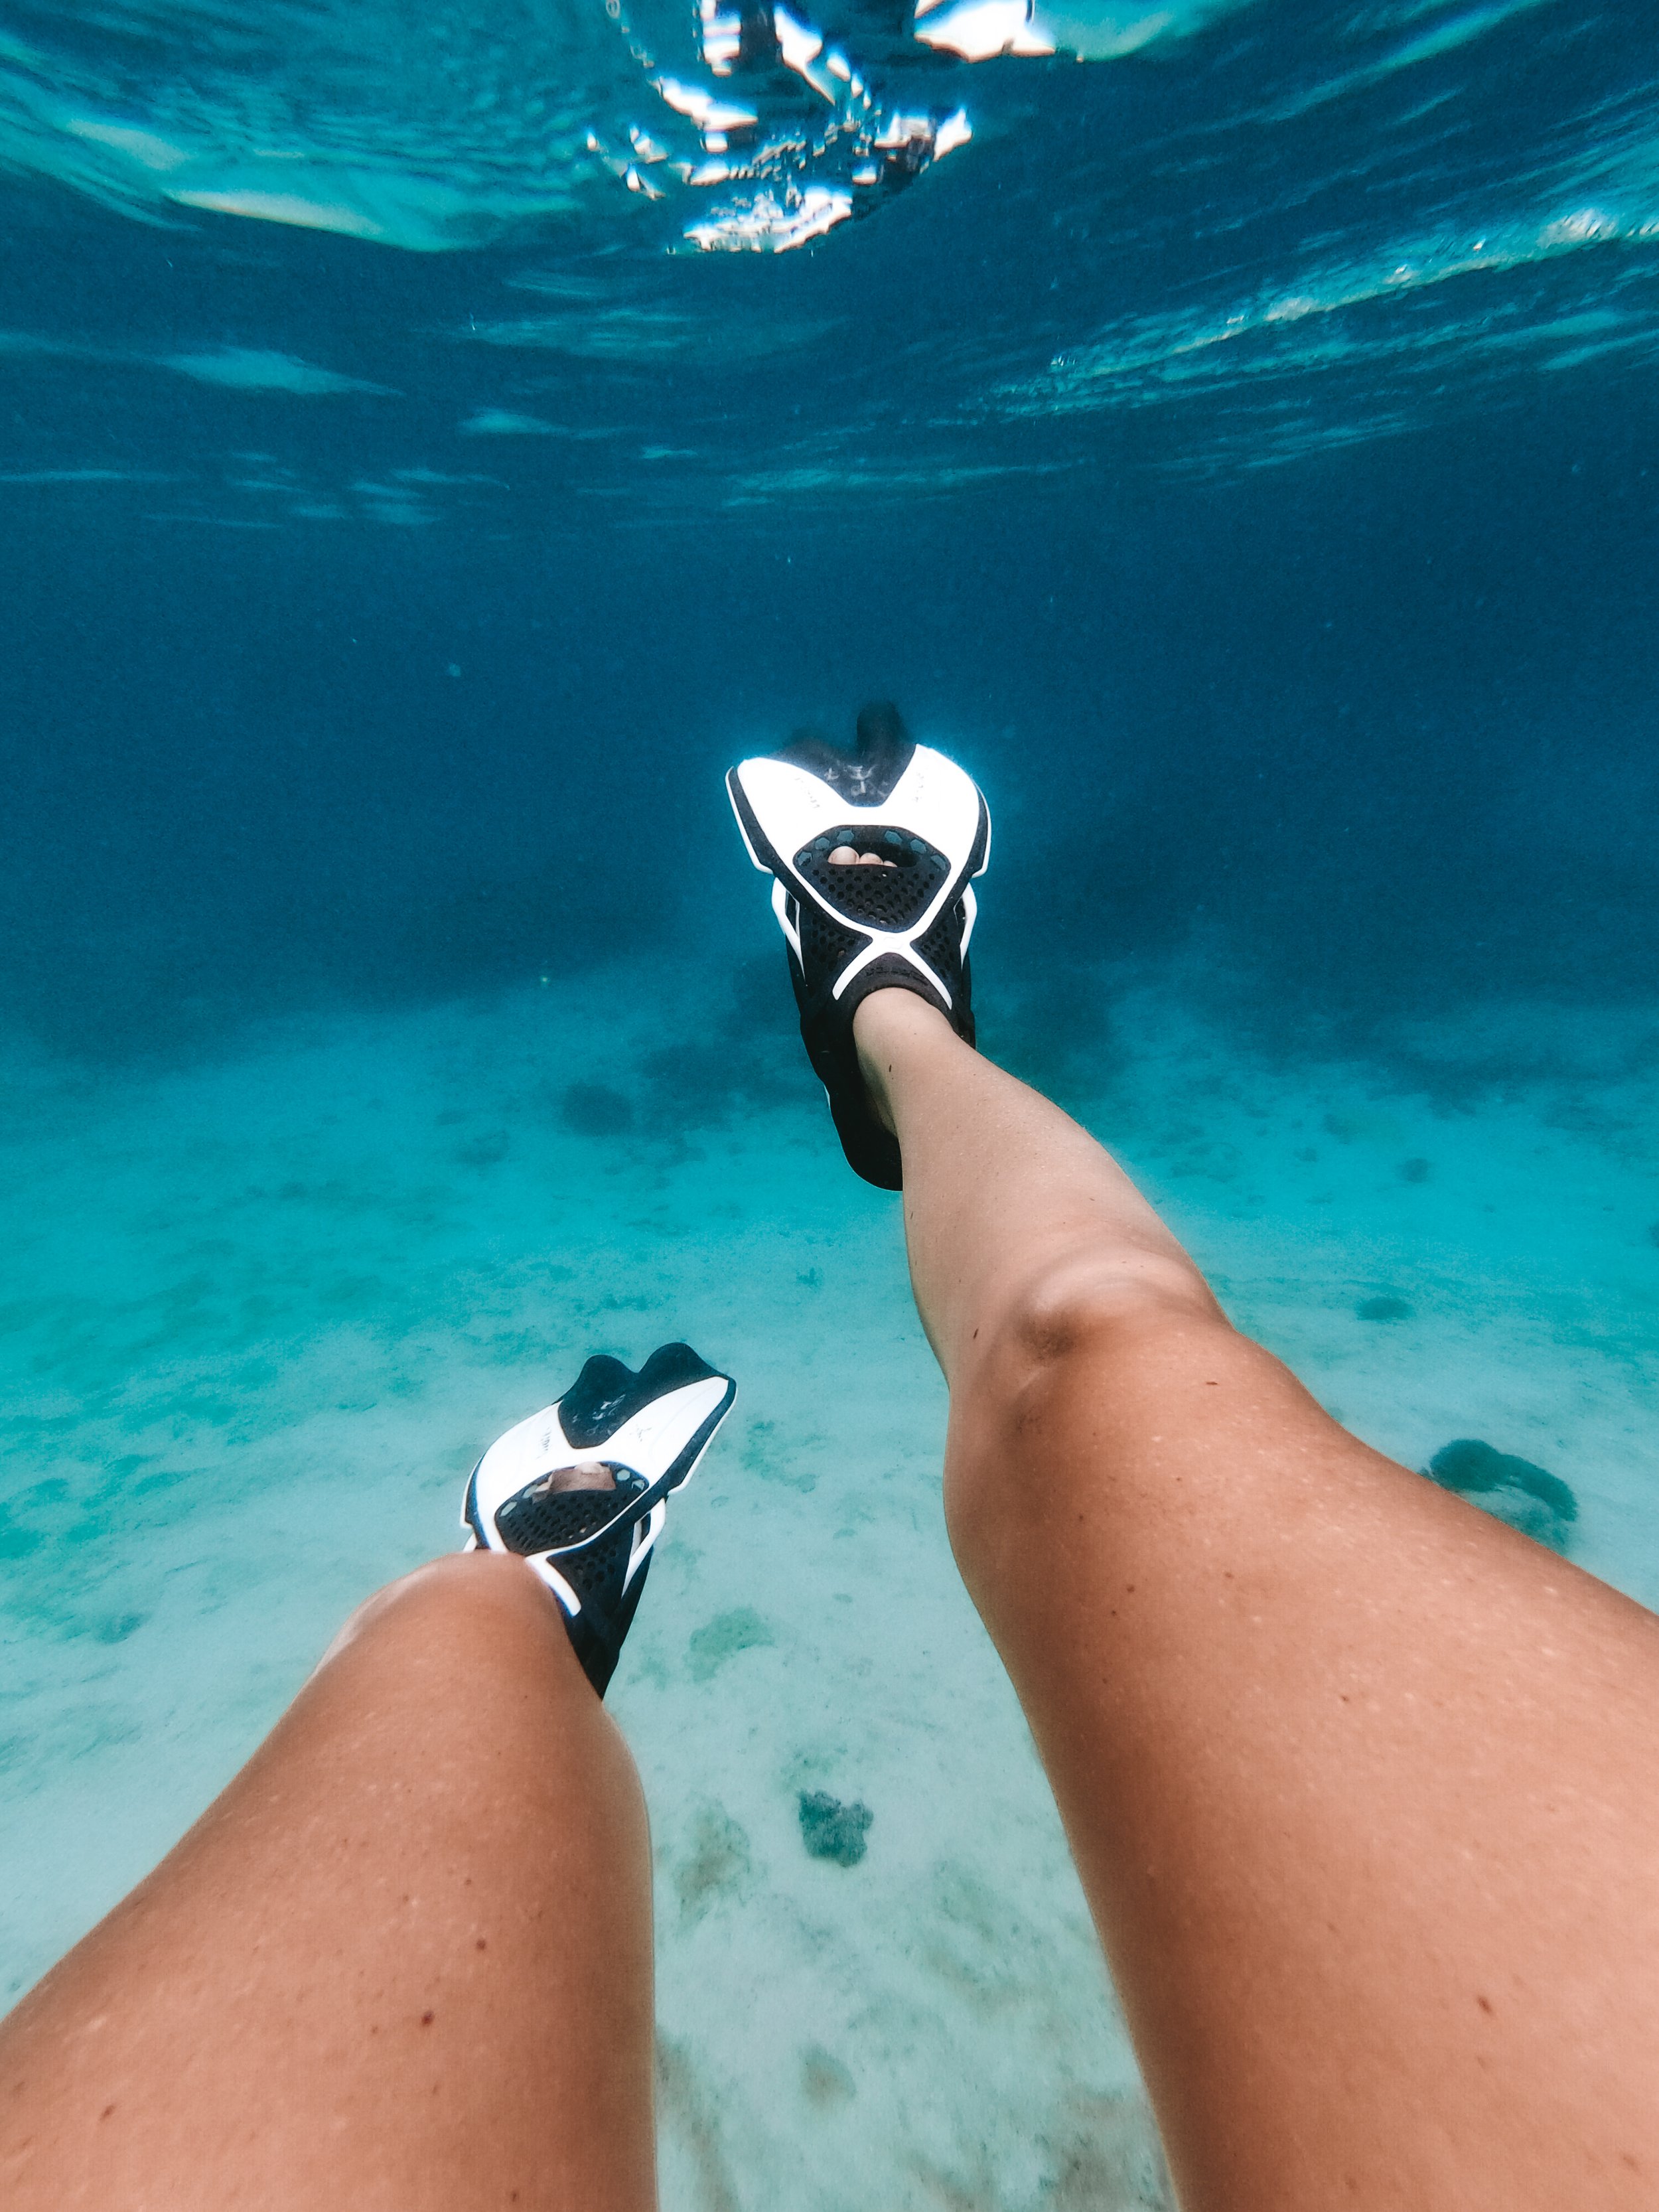
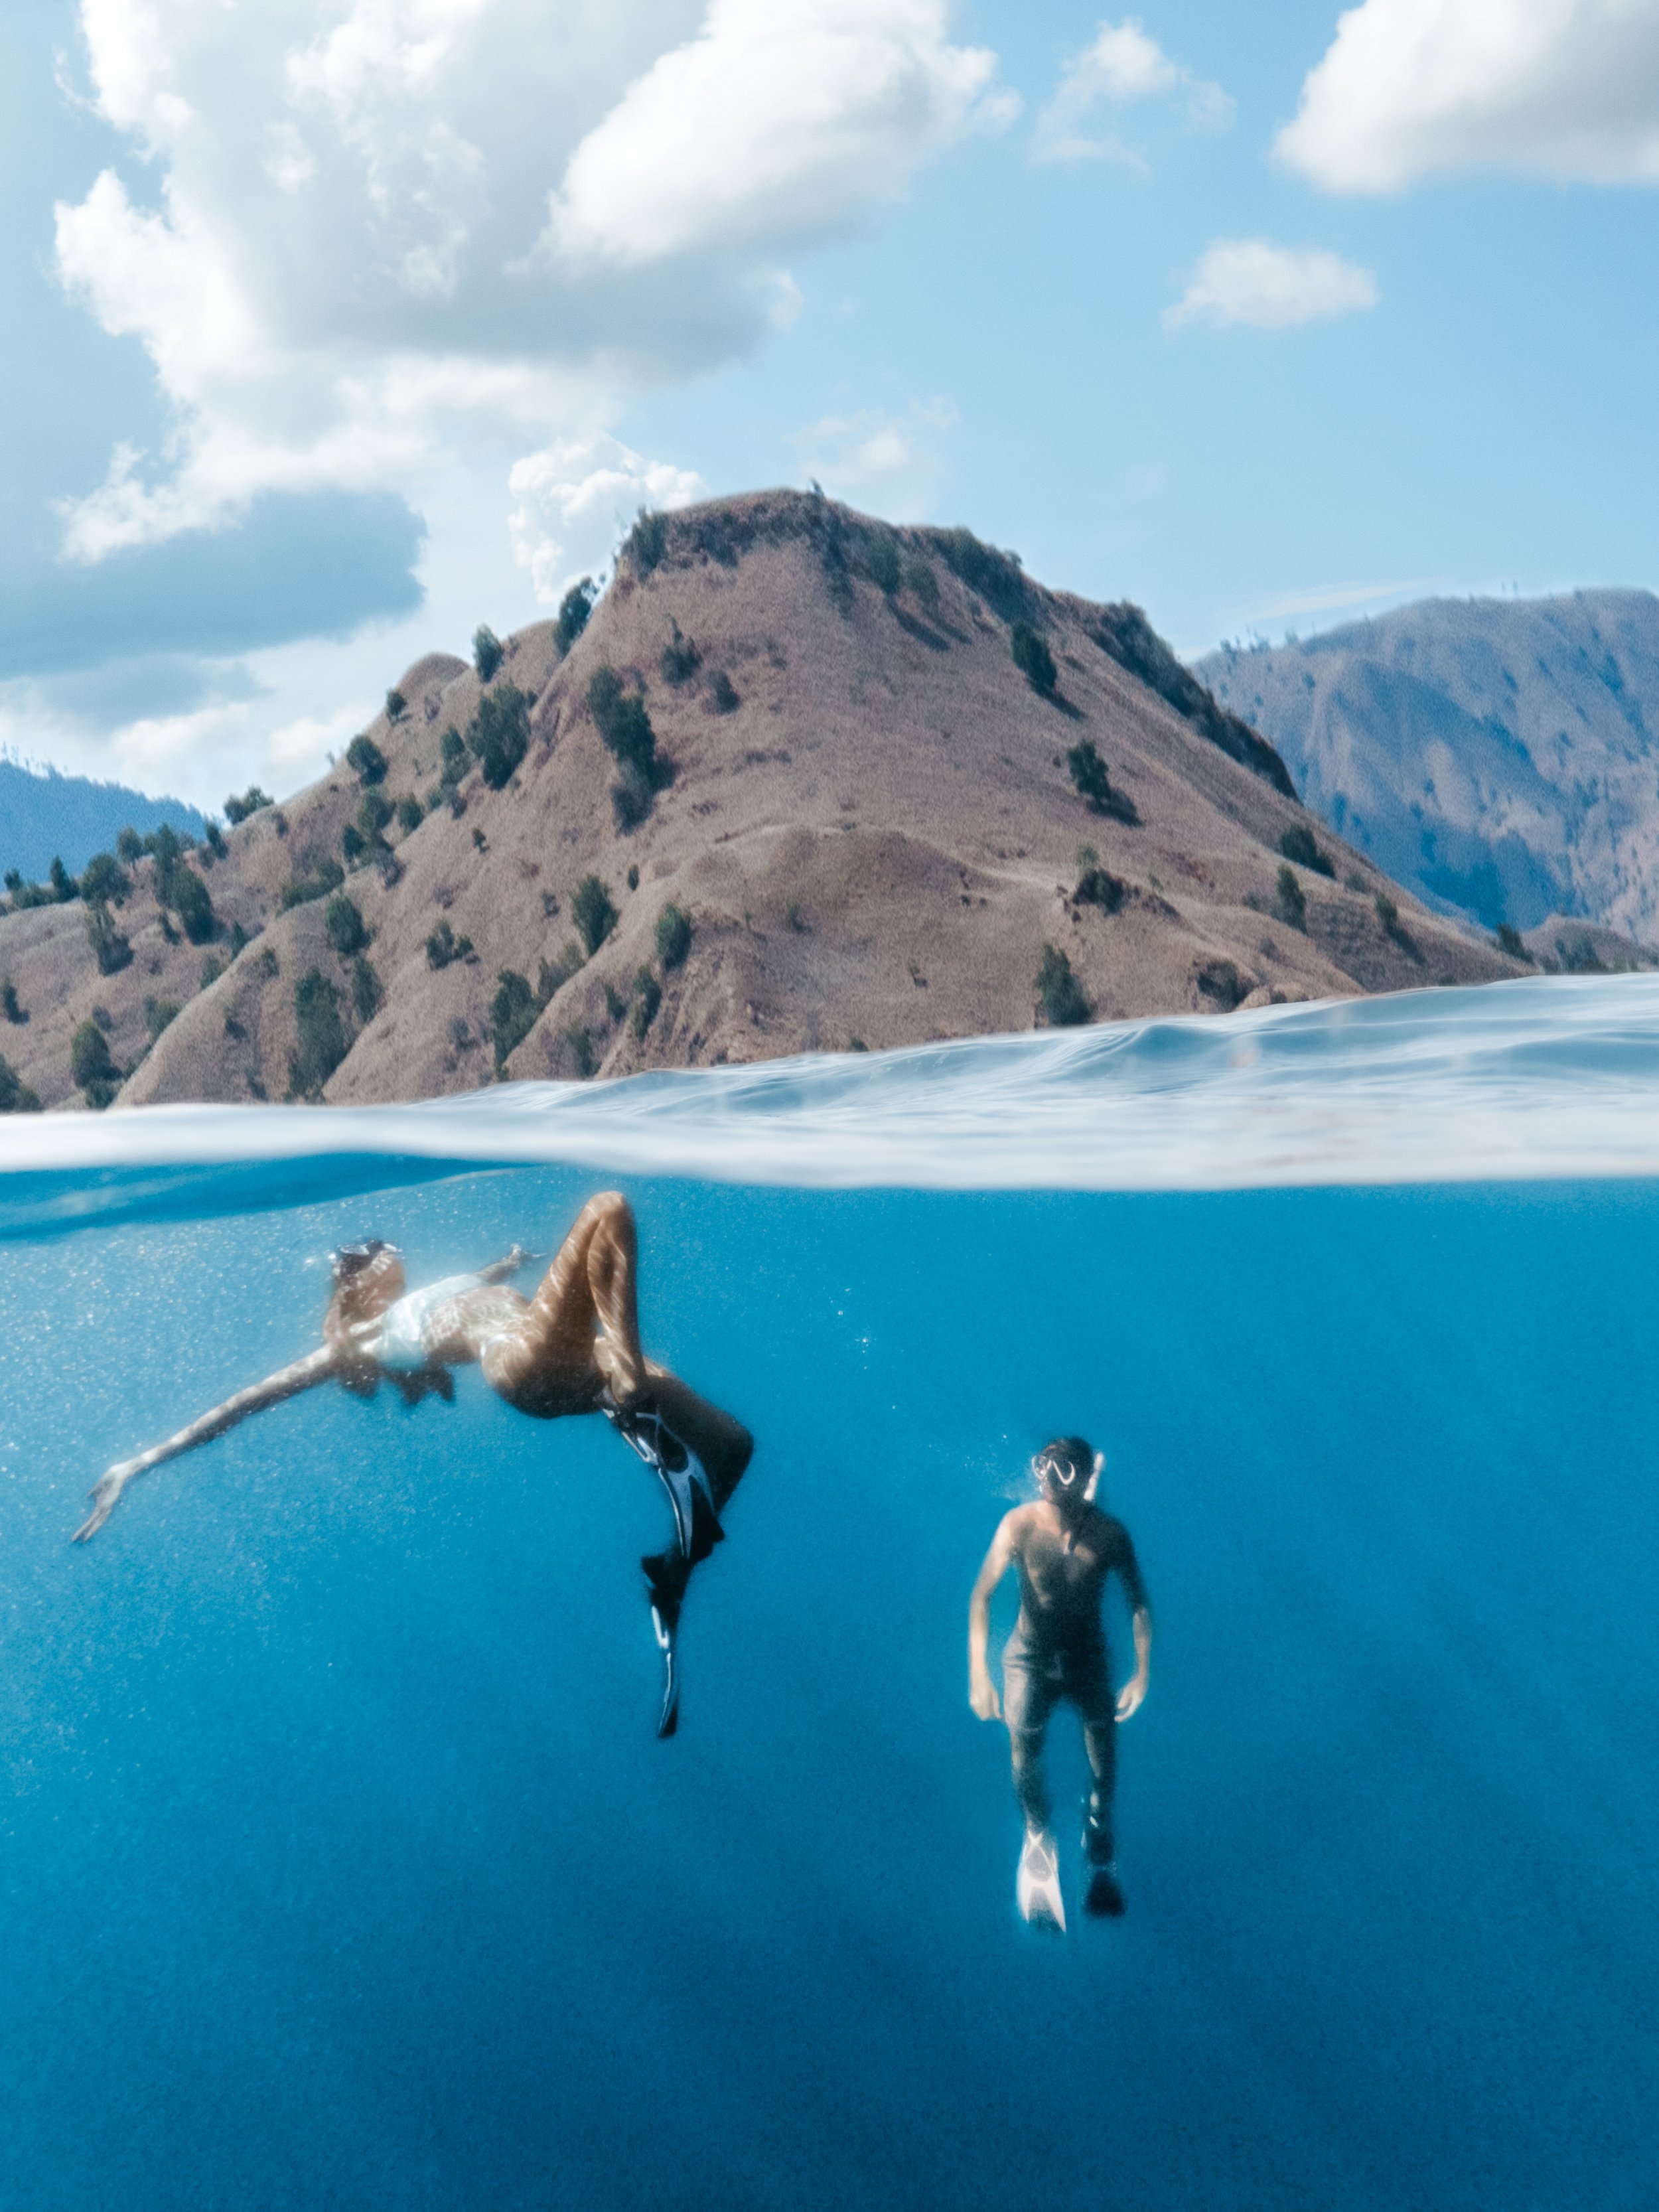
Position the camera upwards - If you are shooting from the ocean floor, try to position the camera looking up towards the surface, not just straight ahead. You will get amazing lighting coming in from the surface that really adds a special element to your photos. This also applies for half and half shots; we will typically either try and get it exactly half and half or dip the camera below the surface more and point upwards.
Be aware if the camera is vertical or horizontal - we shoot vertical 99% of the time to crop for Instagram.
Shoot in linear mode not wide - Underwater it might be tempting to switch into wide to capture more, but you are already fighting with the distortion of being underwater so you don’t want to also add the fish eye effect of wide setting. Or maybe you do.
Try not to blow bubbles- They can make the shot look too busy and add ‘noise’ to your photo which can make it blurry/grainy when you are trying to edit later.
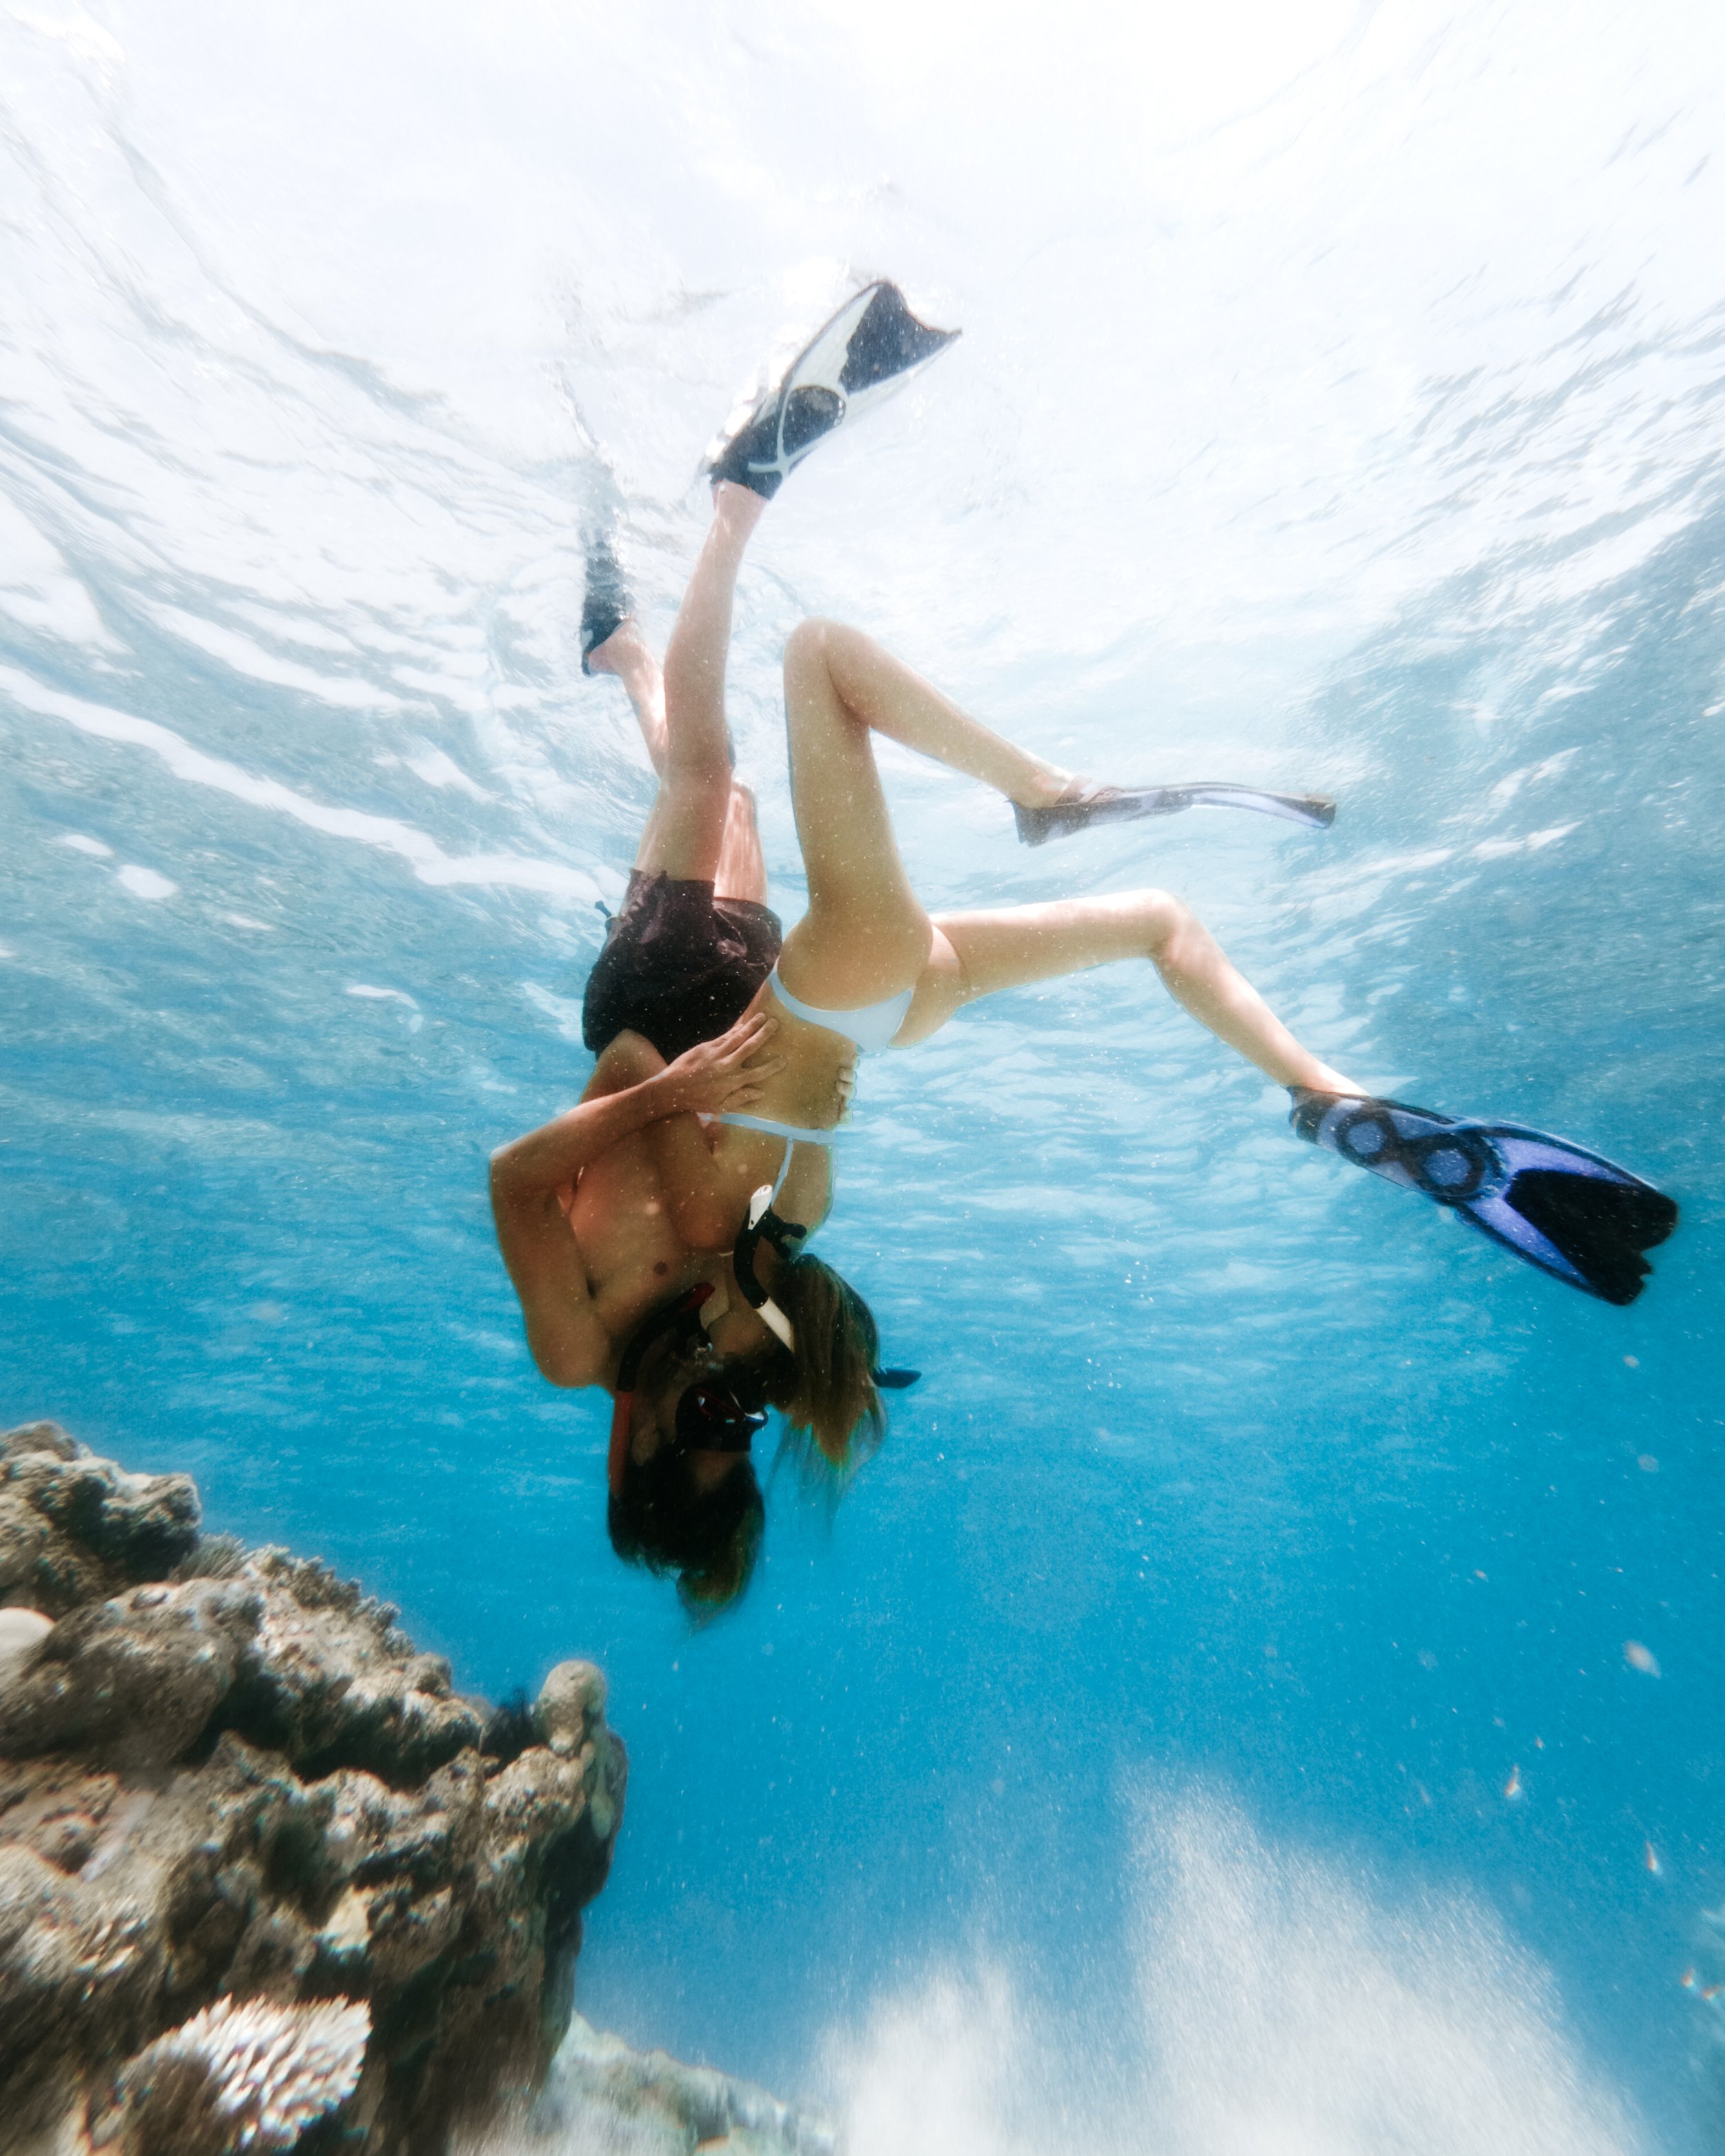
4. POSING UNDERWATER
Now that the camera shooting, it’s time to get in front of it. This requires some breath holding and coordinating with your partner. We suggest talking with your partner before hand which poses you want to try. That way you can be coordinated in your efforts as you go down and try to nail the shot.This is where practice makes perfect, especially with holding your breath. It can be very helpful to have a few poses in mind before you even get into the water so you don’t have to think them up on the spot! We suggest doing some research by looking on Instagram or Pinterest for ideas!
Here’s a few things to think about that can make posing underwater look better:
Be aware of what your face is doing - Try not to puff out your cheeks with a lot of air or shut your eyes really tight. This can look like you are distressed in the photo - if you can try and be calm and relaxed this will help the photo to look more natural and dream like floating through the water
Don’t block each other - Because you are swimming and may be at different proximity to the camera, you will need to be especially aware that you can both be seen in the photo.
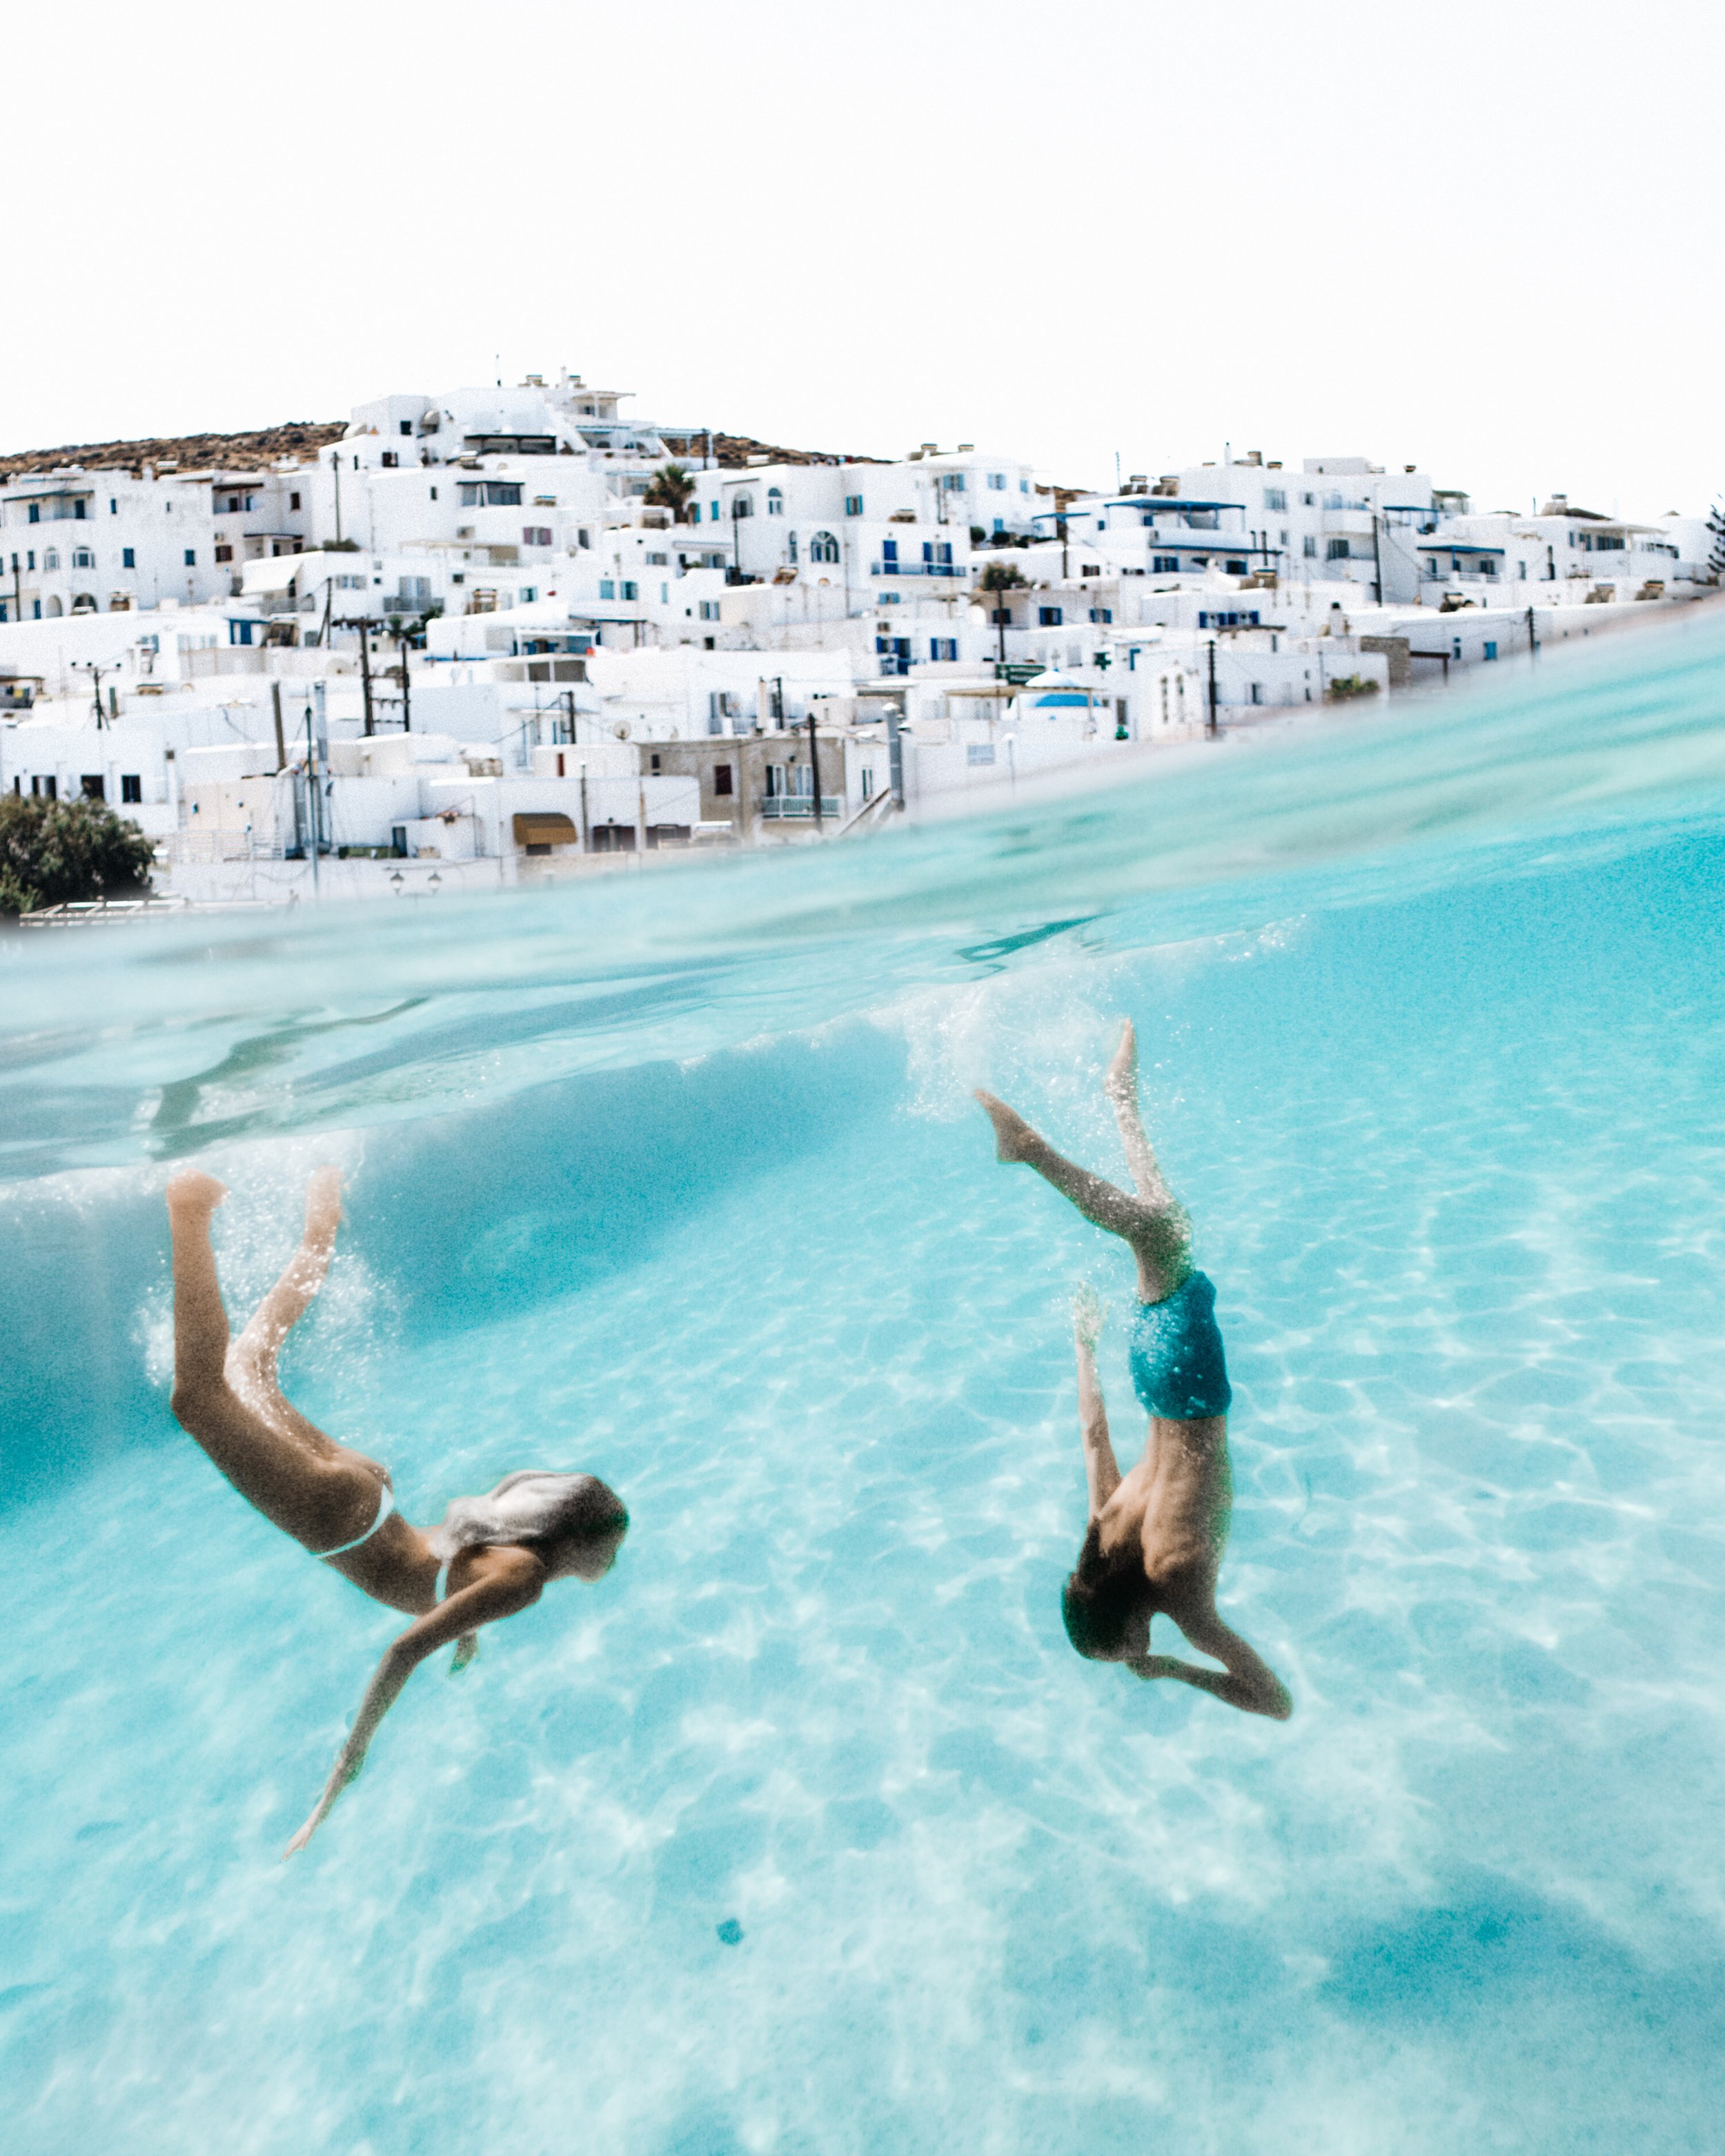
Pose on the way up - It’s always hardest swimming down as our bodies naturally float since our lungs are filled with air. That means if you try and do the pose on the way down it might be harder to get as deep or fully underwater. We suggest swimming down deep and then do your pose on your way up to the surface
Test it out in a pool first - Swimming is much easier in a pool because the water is calm and not as deep. Try out different poses or techniques here first so they are easier to do when your also battling ocean current.
Dance through the water - With underwater photos, you are able to challenge gravity and achieve a weightless feeling to your photos. To make them look even more graceful think of it not as swimming through water but dancing through water. The same things you would do while dancing such as point toes, straightening limbs and elongating your body apply to underwater photos.
Something that was extremely valuable to us was actually taking a free diving course. Free diving essentially teaches you how to control and maximize your breath underwater. It also teaches you simple practices in how to go deeper more successfully with things like equalizing for depth and body positioning. If you are looking to get more into underwater photography doing a course on free diving could be extremely helpful. If you don’t want to even worry about holding your breath at all you may even consider a course like scuba diving. A lot of the serious underwater photographers will actually use scuba gear regardless of depth so that they don’t have to continuously come up for air and lose the shot.
Usually after swimming around for a few minutes trying different looks, we will grab the camera and look through what we got. Most of the photos are of just the water and we delete them later. But its a good idea to make sure you are at least swimming into the frame and like the camera placement. Repeat until you feel like you got what you wanted! This may take a few times to get used to, but you will get the hang of it.


IN PRACTICE
Now we’ll show you a few photos and walk through a few details on how we set up these shots. That way you can start to get a feel for what it might look like when you are scoping our your next underwater photo shoot.

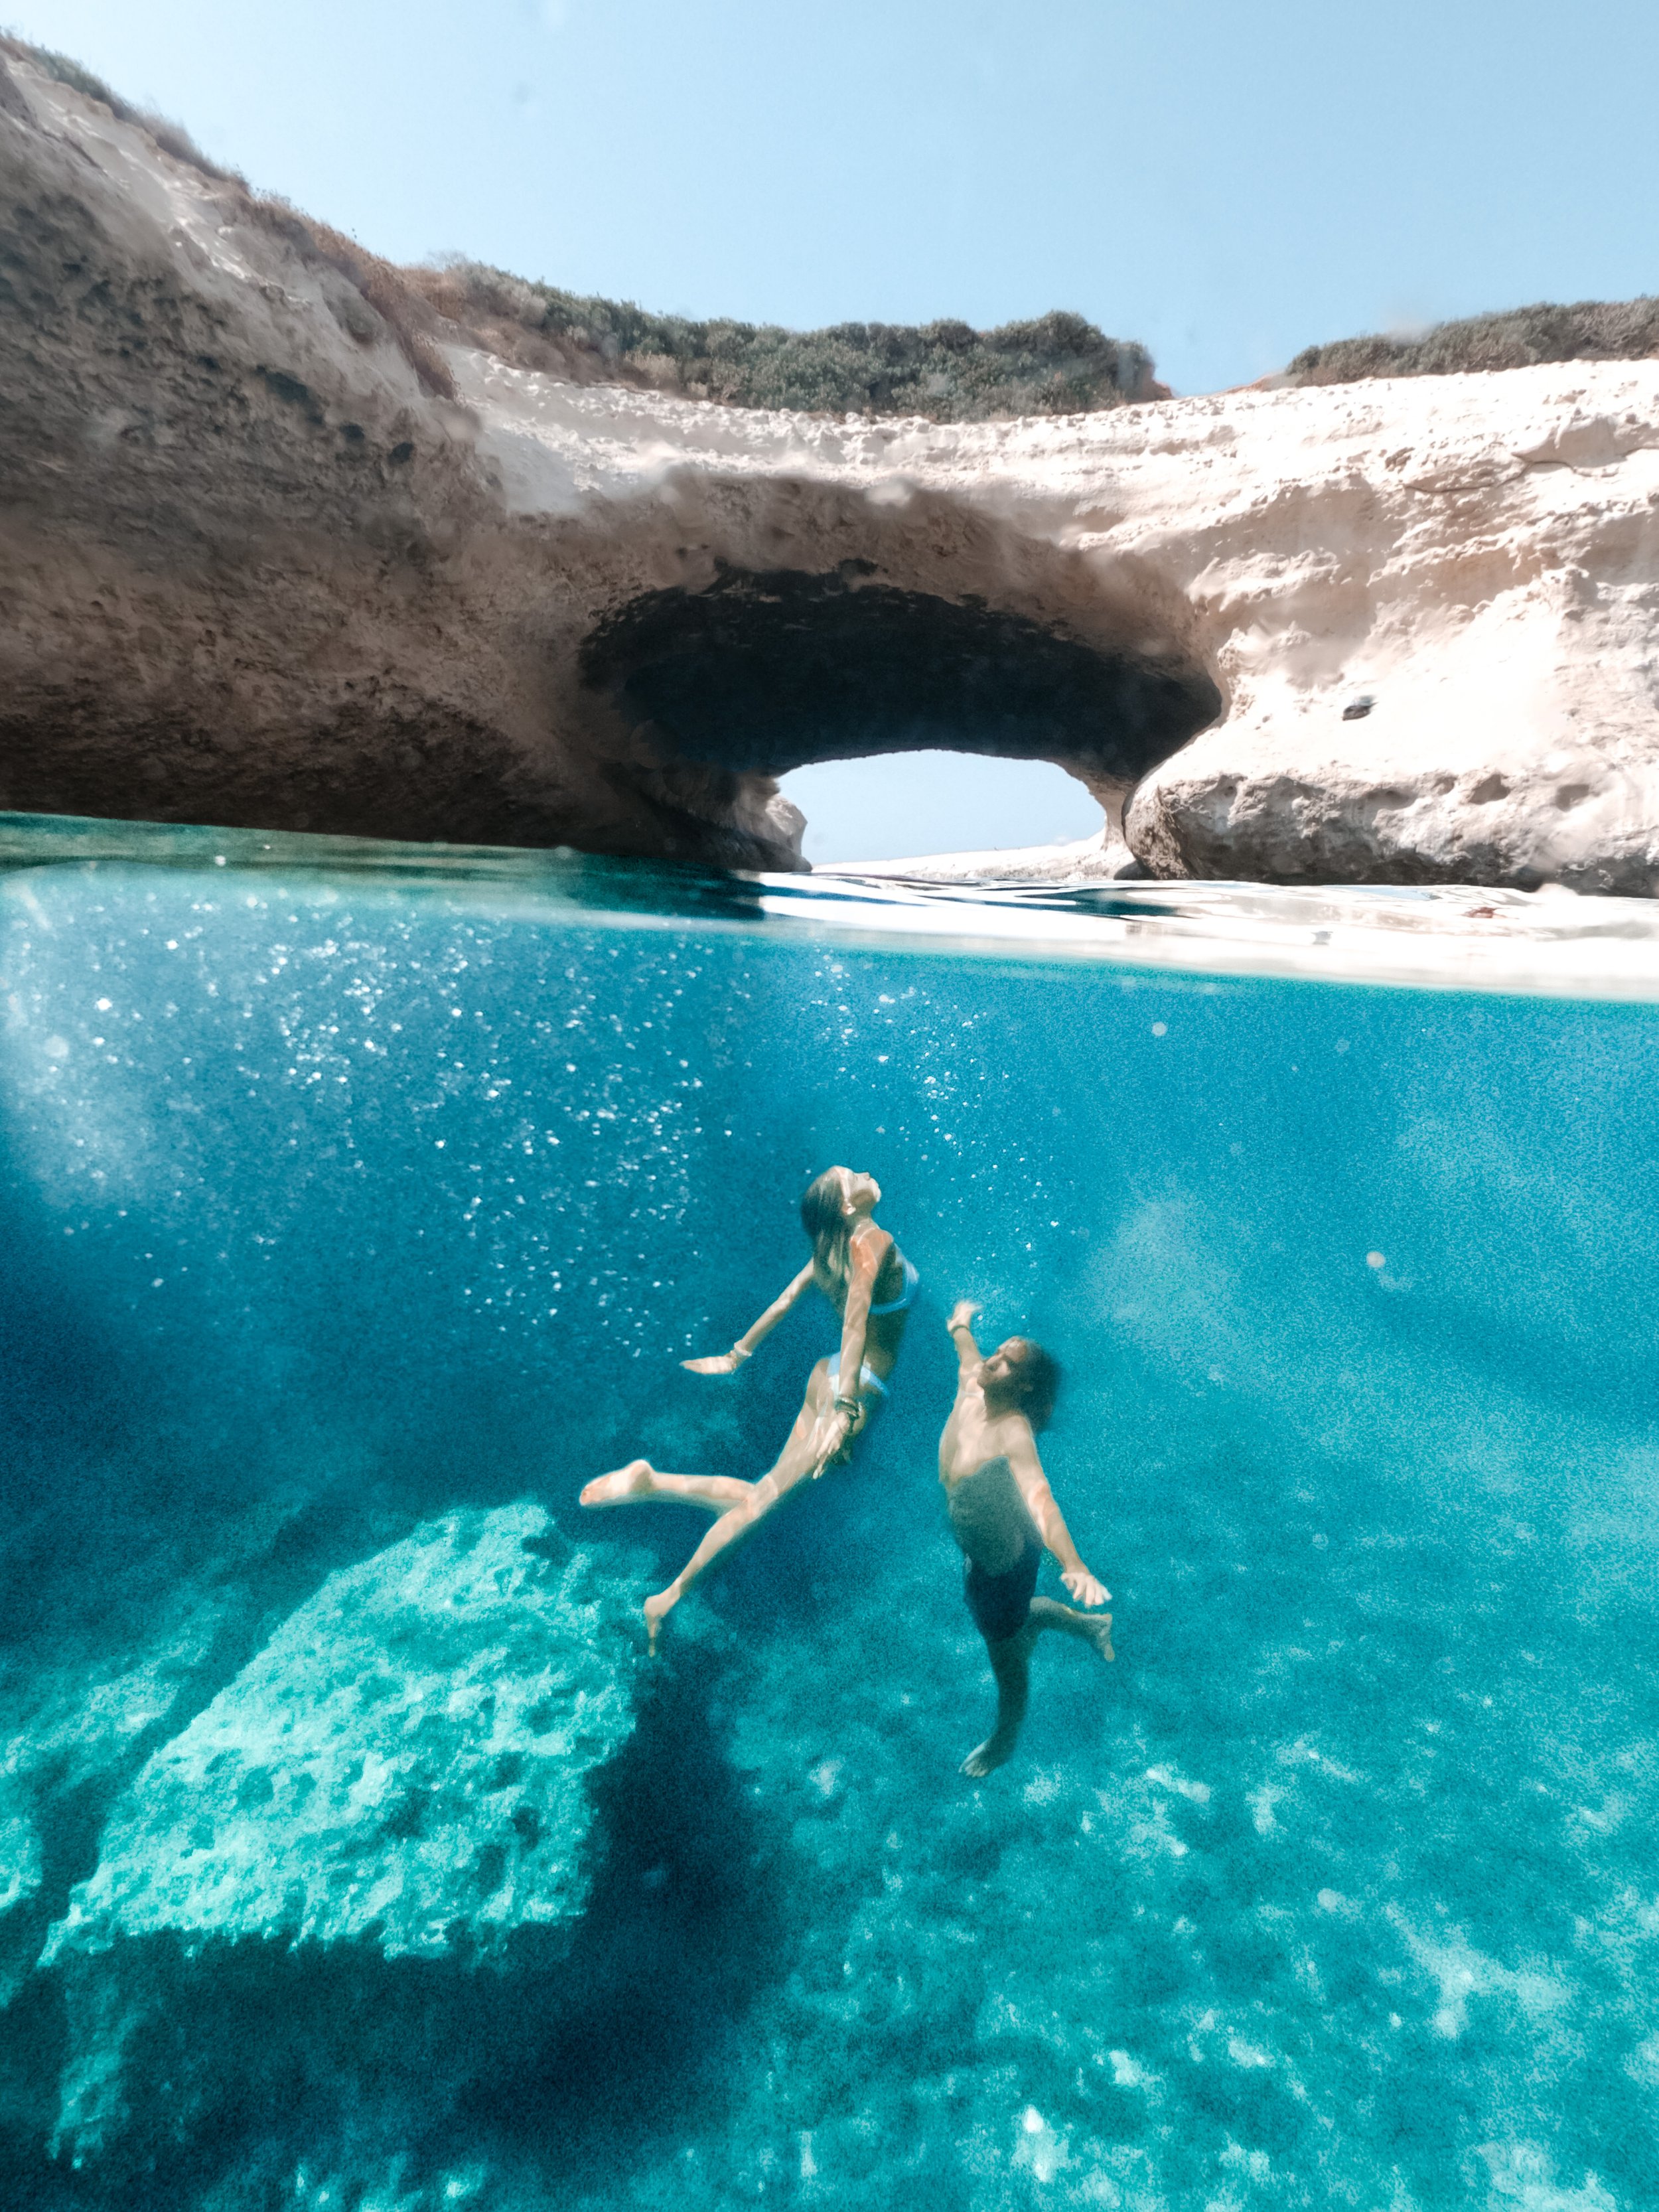
CAVE CAPTURE
Location: Tulum Cenotes, Mexico
Set up: We wrapped the tripod around the bottom of the ladder to get in the pool.
Posing: The light here was so beautiful! But we had to be sure to swim slightly in front of the light rays because they were pretty harsh and we would have become overexposed. Because we are not managing the camera ourselves the ISO is set to auto with min and max limitations. The limitations help to not go too bright, but you will still need to be careful of not swimming in a place that is too bright and might leave you completely blown out.

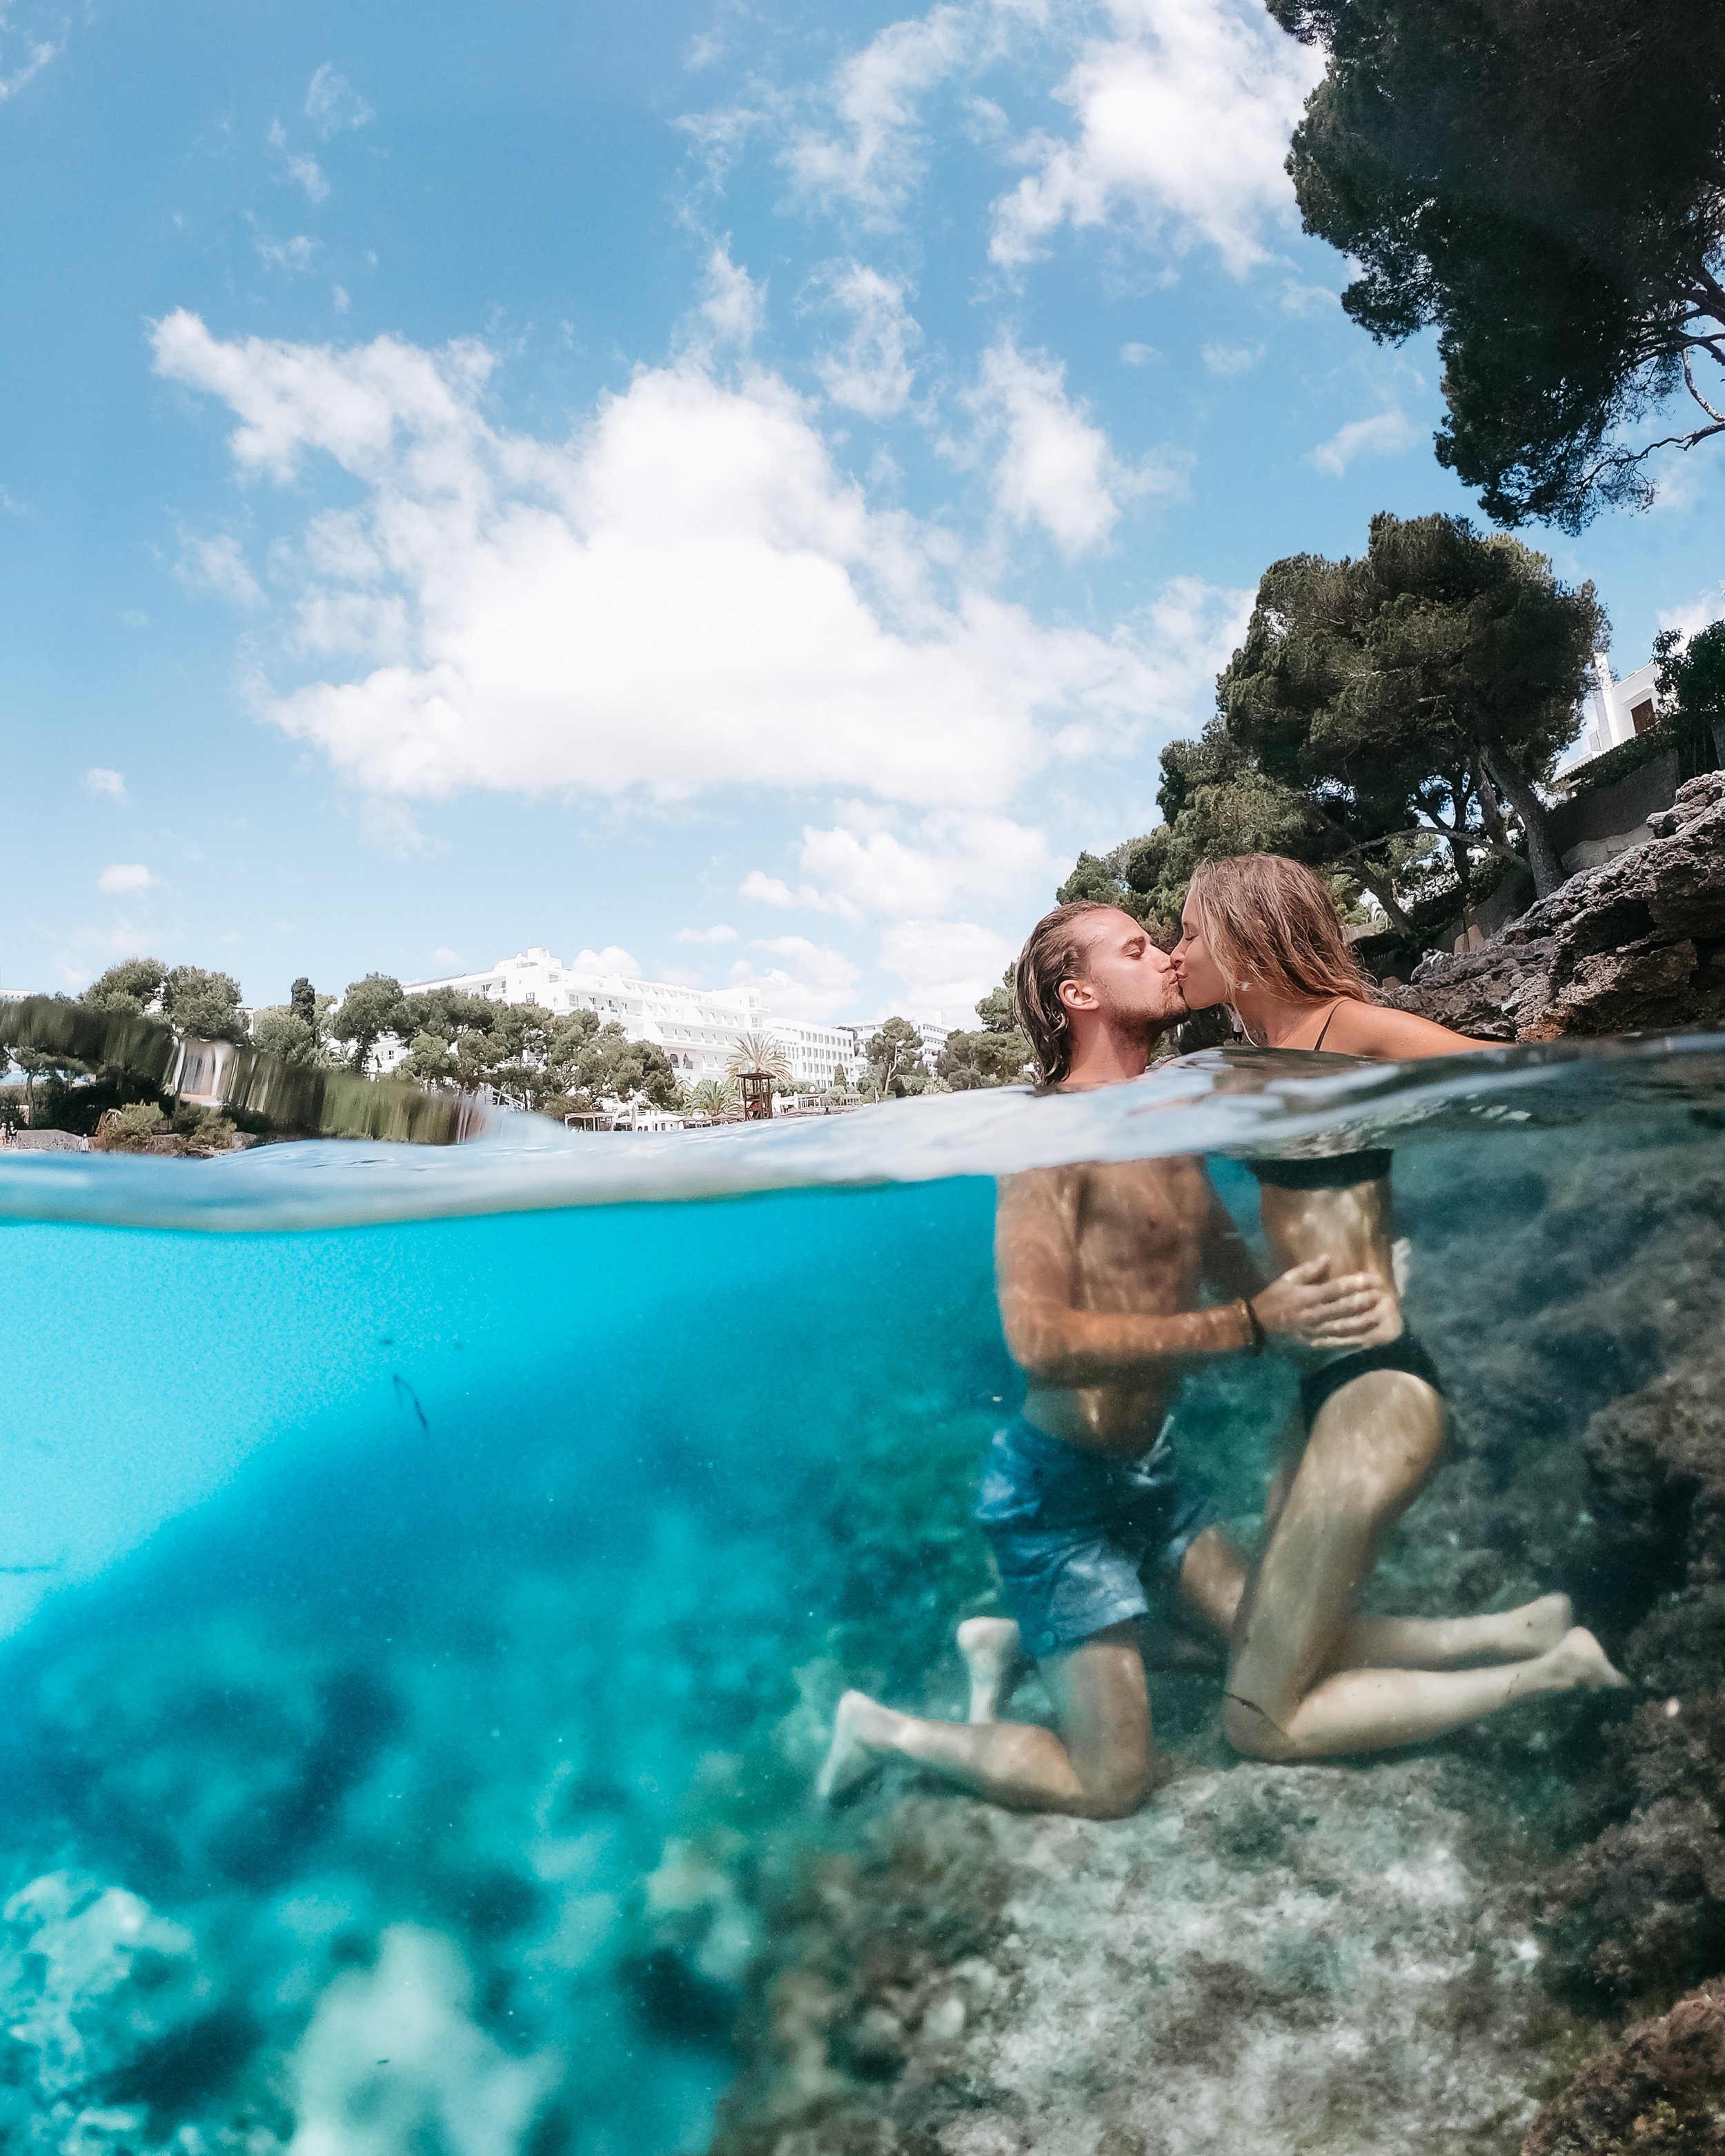
POOL HALF AND HALF
Location: Bali, Indonesia (for more details see blog post HERE on hotels in Bali - this specific one is called ‘Own Villa’)
Set up: We hooked the tripod onto the pool latter here with special attention to have both villas be seen in the shot. This one is completely half and half because we wanted to be sure and see the full villas in the shot and how they walk right out into the pool
Posing: To get into this pose Sydney actually swam down first and turned over onto her back to slowly float up, then Davis came down and grabbed around to hit the pose and help for both of us to stay underwater longer with the downward momentum.

COME FOLLOW ME
Location: Mallorca, Spain (for more details see blog post HERE on beaches of Mallorca)
Setup: Here it was pretty simple, Davis just had to be sure to set up vertically and hold the GoPro as close to his body as possible for less distortion.
Posing: Davis held onto the GoPro in the dome and reached out to me. This is one of the easiest shots to do for beginners!
5. EDITING
This is where a lot of the magic happens. As you notice in our settings we shoot in ‘Flat‘ color profile, which means that there is more data collected in the photo, but right out of the camera it can look very muted and low contrast. All that can be solved in post editing with a few tricks. We use Adobe Lightroom as the base for editing all of our underwater shots. Sometimes if we need to do some heavy adjusting, we will then take it into Photoshop as well. Here are a few things that have been helpful for editing our underwater photos:
Use a preset - This can dramatically reduce editing time. It will also help keep your photos looking consistent, regardless if they are taken from iPhone, DSLR cameras, action cameras or drones. This used to be our biggest struggle because our underwater photos tended to not blend with our others on land photos. Now we will apply presets to all of our underwater shots as a base.
Masking brush - Skin tones tend to get quite blue or green when underwater. This can be easily fixed by using a masking brush tool in Adobe Lightroom. All you do is choose the brush tool from the developer tab and then paint over your skin tones. Then you can selectively adjust only that part of the photos. Typically we will adjust the temperature to be warmer and tint to be more red. You can also add some contrast or adjust brightness so you stand out int the photo
Water spots - If you have water spots in your half and half shots, you can fix these by using the healing tool. If they are small I will just quickly adjust in Lightroom, but if there are a lot and in complicated areas I will do this in Photoshop using either the healing or clone tool.
Play with your blues - Because a majority underwater photos are blue, this where you will want to spend a lot of your time playing with these colors. Try adjusting with different hues, luminances and saturations for your aquas, blues, and greens in the color sections of your developer tab in Lightroom. If you really want to make the blues pop, try really increasing the luminance!
For more tips on photo editing you can check out our in depth guide in how we edit all our photos HERE
Let us know if you have any other questions or comments about underwater photography, or anything that has helped you! As always we are here for you and sending you our love.